Easy Oven Fried Squash Recipe for Crispy Healthy Sides

Easy Oven Fried Squash Recipe for Crispy Healthy Sides
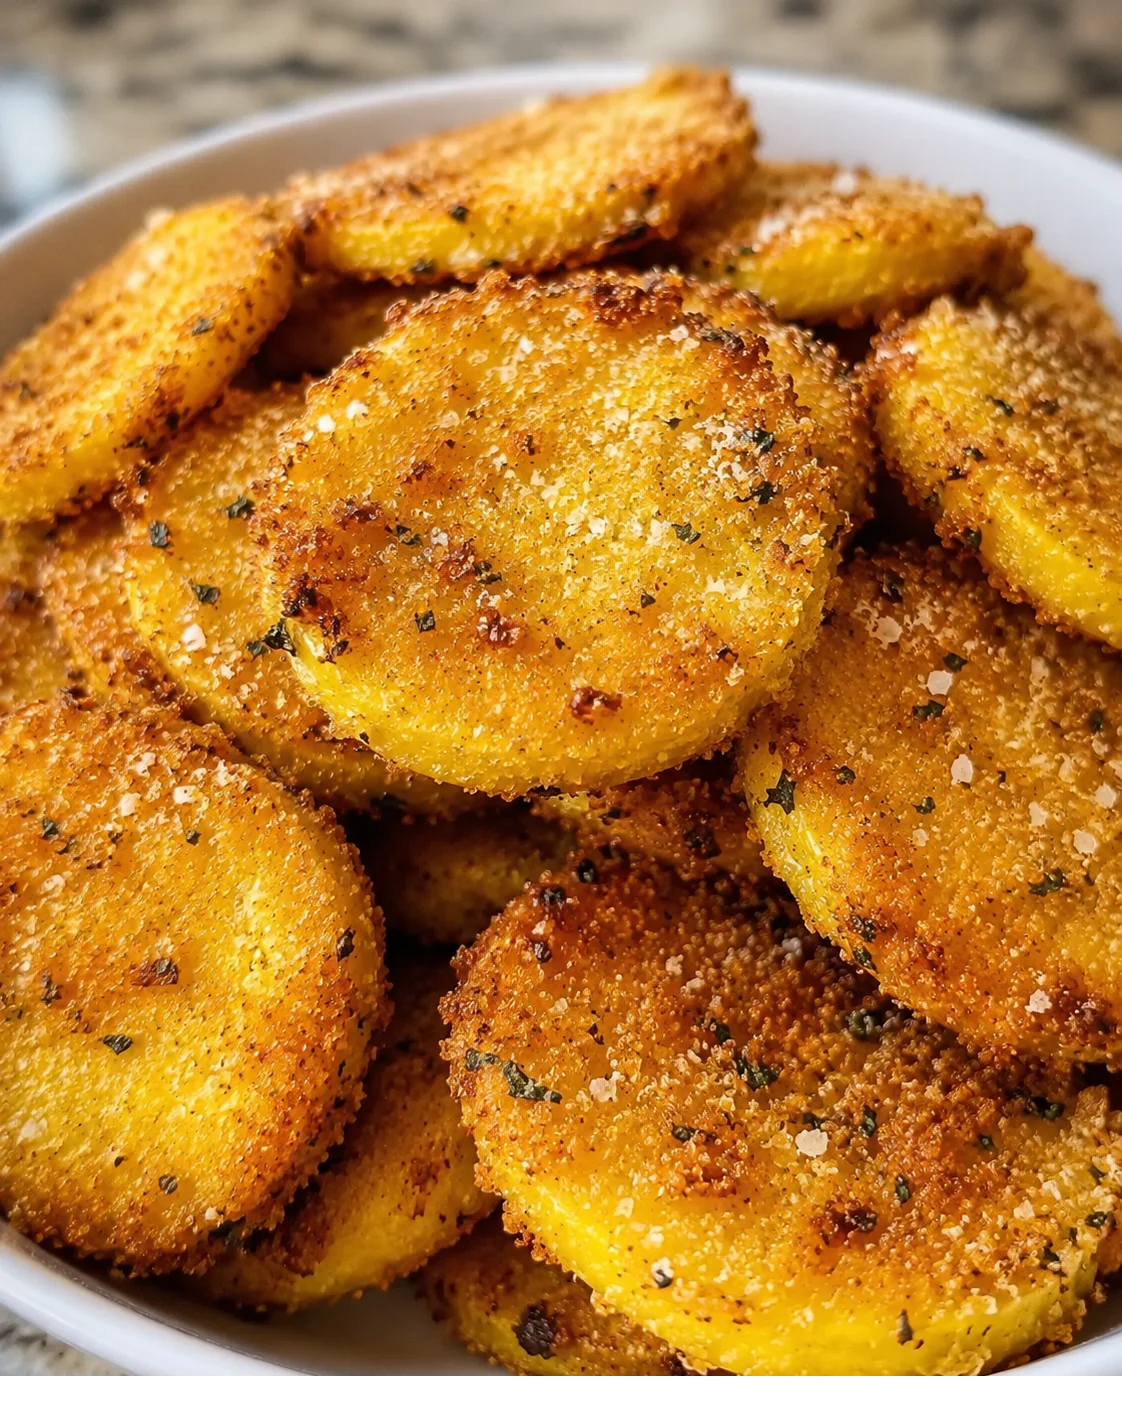
This Easy Oven Fried Squash is such a delightful and healthy side that’s crispy on the outside and tender inside. All you need to do is slice the squash, coat it up, and bake it in the oven — no frying mess or fuss!
Honestly, it tastes amazing, and my family usually jumps on it before dinner even starts. Everyone’s always scrambling for the last piece, and I’m telling you, it disappears fast! 😄
If you’re craving a crispy, crowd-pleasing side but want to skip the deep-frying and extra oil, you’ve come to the right place. This Easy Oven Fried Squash recipe gives you that golden, crunchy outside with soft, tender squash on the inside. Plus, it’s quick to whip up — about 35 minutes from start to finish.
- What you’ll get: deliciously crispy “fried” squash using your oven — perfect for busy weeknights or easy dinners.
- How it works: a simple three-step coating method (flour → egg → breadcrumbs), drying the squash first, and flipping it halfway through baking at 425°F for even, crispy browning.
- Timing: roughly 10 minutes prep, then 20 to 25 minutes roasting in the oven.
- Flexible swaps: you can easily trade yellow squash for zucchini, panko breadcrumbs for an extra crunchy kick, plus gluten-free and vegan tweaks to fit your needs.
- Extras: below you’ll find detailed instructions, tips for getting extra crispiness, fun variations, and handy storage and reheating advice so leftovers stay just as tasty.
Stick with me to get the full recipe and tried-and-true tips — trust me, this side dish vanishes quickly, so be ready to share (or sneak the last piece)! 😄
Why You’ll Love It
This Easy Oven Fried Squash nails all the good stuff about crispy Southern fried squash without the deep-frying mess or extra oil. It’s a quick and family-friendly side that uses everyday pantry ingredients and comes together in about half an hour.
- Crispy without deep-frying: by drying the squash slices and the three-step breading (flour, egg, breadcrumbs), then flipping them halfway, you get a perfect crunch that’s tender inside.
- Healthier and cleaner: baked with a light mist of oil instead of deep-fried, it cuts down on fat and cleanup but keeps all the flavor your family loves.
- Fast and simple: 10 minutes prep, 20–25 minutes baking — great for busy nights or casual meals. For another speedy side, see 20-minute roasted zucchini.
- Adaptable recipe: yellow squash or zucchini both work beautifully; swap breadcrumbs for panko if you want extra crunch; use nutritional yeast or dairy-free cheese for a vegan twist; and gluten-free options are easy to make.
- Make-ahead friendly: leftovers stay good up to 3 days in the fridge and crisp back up nicely in the oven for easy reheating.
Ingredients and Easy Substitutions
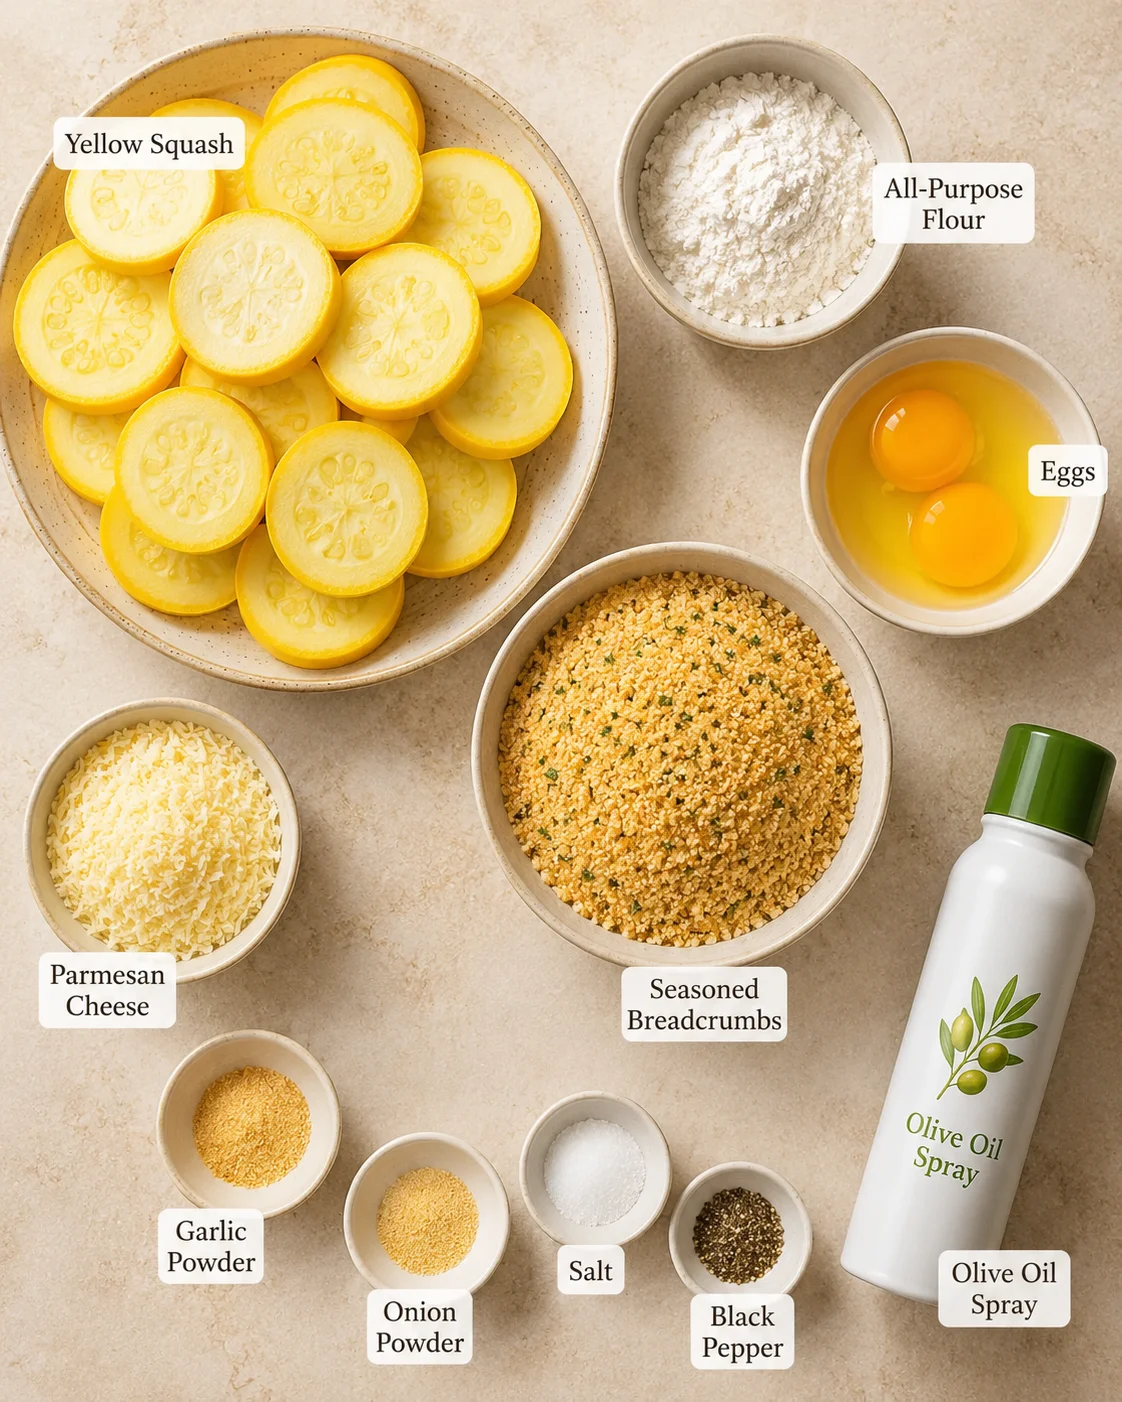
- 2 medium yellow squash, sliced about 1/4 inch thick
- 1/2 cup all-purpose flour
- 2 large eggs
- 1 cup seasoned breadcrumbs (or panko for extra crunch)
- 1/2 cup grated Parmesan cheese, divided
- 1 tsp garlic powder
- 1 tsp onion powder
- 1/2 tsp salt
- 1/4 tsp black pepper
- Cooking spray or olive oil spray
How to Bake It Perfectly
- Preheat oven to 425°F (220°C) and line a baking sheet with parchment paper or a silicone mat; lightly spray the lined sheet with cooking spray.
- Slice the yellow squash into about 1/4-inch-thick rounds.
- Set up three shallow dishes: put flour in the first, beat the eggs until smooth in the second, and combine breadcrumbs, half the Parmesan, garlic powder, onion powder, salt, and pepper in the third.
- Pat squash slices dry with paper towels to remove excess moisture.
- Dip each squash slice in flour, shaking off excess, then dip in beaten egg, letting excess drip off.
- Press each slice into the breadcrumb mixture so the coating adheres.
- Arrange the coated slices on the prepared baking sheet in a single layer without touching.
- Lightly spray the tops of the arranged slices with cooking spray or olive oil spray.
-
Bake for 20–25 minutes, flipping the slices halfway through baking for even browning.
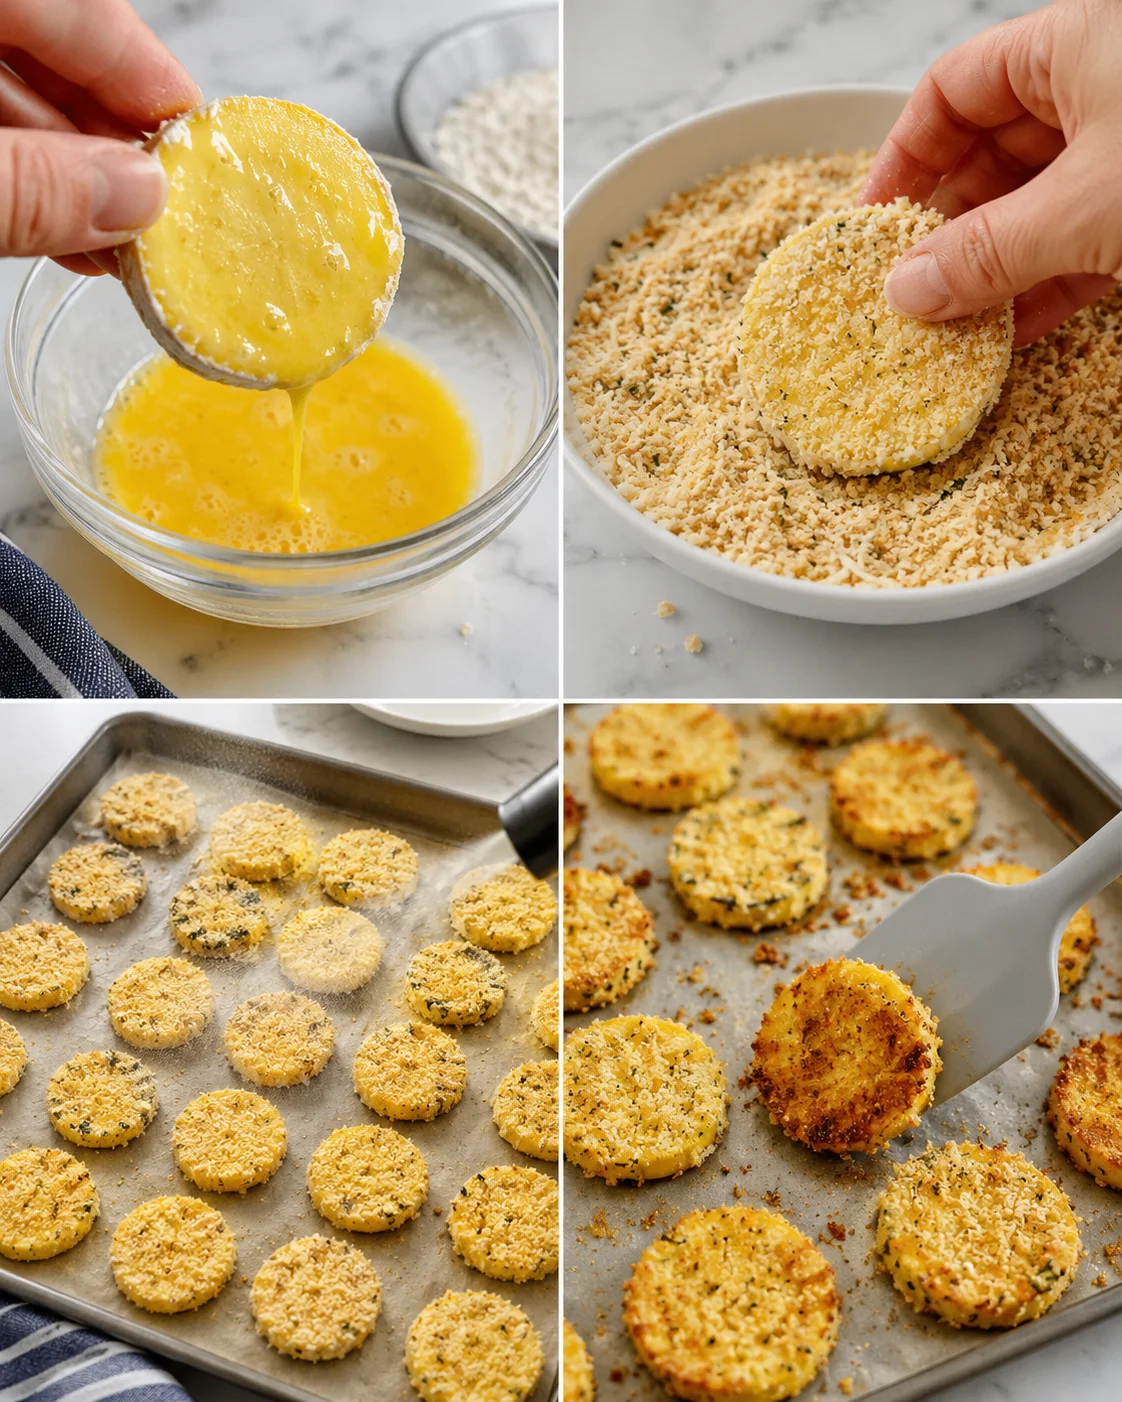
- Remove the squash when golden and crispy, then sprinkle the remaining Parmesan over the hot slices.
Pro Tips for Crispy Results
Want to make your oven baked yellow squash even crispier? Follow these simple tips:
- Start with dry squash slices — pat them thoroughly with paper towels to soak up moisture for a crunchier bake.
- Use the classic three-step breading process—flour, egg, then breadcrumbs—as demonstrated in this baked crispy Parmesan ravioli recipe. Layering this way helps the coating crisp up perfectly.
- Don’t crowd your baking sheet! Make sure slices aren’t touching so they roast instead of steam.
- Flip the squash halfway through baking to get even browning and the best texture on both sides.
Stick to these tricks, and your oven fried squash will come out perfectly crispy every time — your family won’t believe it’s baked, not fried!
This oven baked yellow squash pairs beautifully with grilled meats, fresh salads, or as part of a veggie platter. It also makes a wonderful healthy snack paired with your favorite dips — ranch, marinara, or even a spicy mayo dip.
Tags:
Flavor Variations and Swaps
Absolutely! While fresh yellow squash is fantastic, zucchini is a perfect substitute and works just as well for the same crispy oven baked yellow squash result. Just slice it the same way! If you’re craving something cozier, try this Healthy Squash and Zucchini Casserole for a hearty vegetarian bake.
Need a gluten-free option? No problem! Swap out the all-purpose flour for your favorite gluten-free flour blend and choose gluten-free breadcrumbs or crushed cornflakes. The flavor and texture still shine through.
For a vegan twist, use flax or chia egg instead of eggs, and nutritional yeast or vegan Parmesan instead of real cheese. You’ll still get all the crispiness and flavor with plant-based ingredients.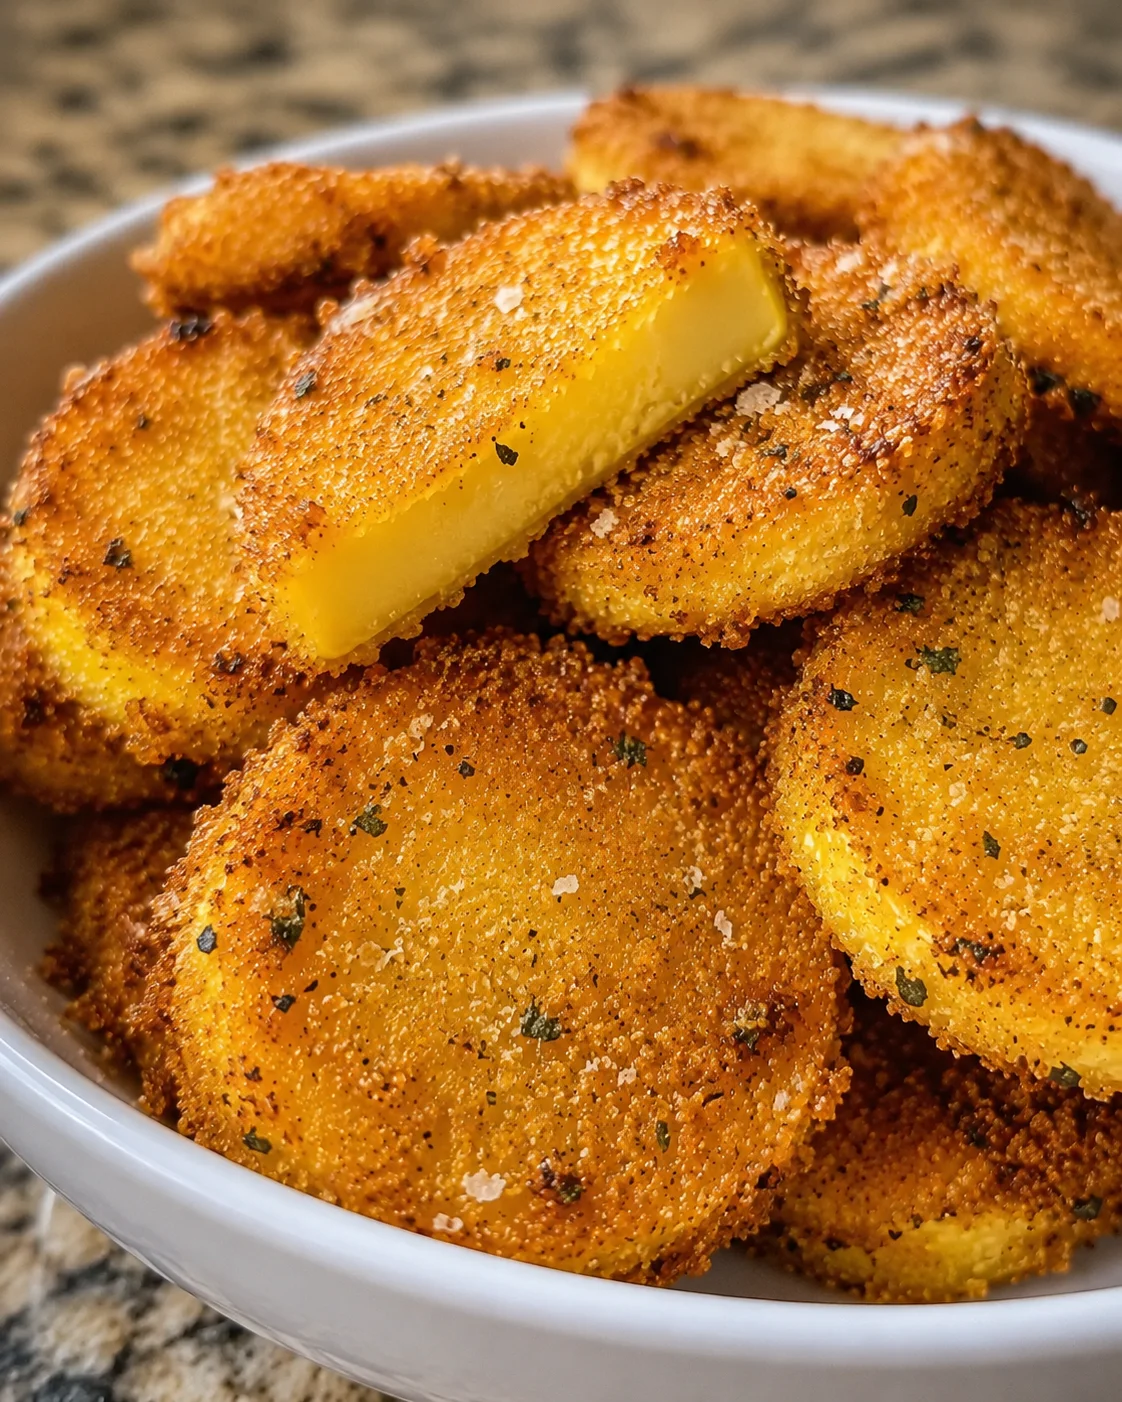
Storing and Reheating Leftovers
If you have leftovers, store them in an airtight container in the fridge for up to 3 days. To keep your oven baked yellow squash crispy when reheating, pop them in the oven at 375°F (190°C) for about 10 minutes. This helps refresh that sought-after crunch better than the microwave. For more oven-crisping tips you can apply here, see our guide to Crispy Baked Cod That’s Perfectly Golden and Flaky.
Common Questions Answered
Can I use other squash besides yellow squash?
Yes! Zucchini is a great stand-in and bakes just as well with this recipe. If you’re looking for another zucchini side, try these jalapeño popper zucchini boats.
How do I make this recipe gluten-free?
Simply substitute regular flour and breadcrumbs for gluten-free versions and follow the same steps. It’s just as delicious!
Can I prepare this recipe ahead of time?
You can coat the squash and store it in the fridge for a few hours before baking, but for best crispiness, bake right before serving.
Why flip the squash halfway through baking?
Flipping makes sure both sides get evenly crispy and golden brown, which is the best part of oven baked yellow squash!
What can I serve with oven baked yellow squash?
This side is fantastic with grilled chicken (or try pesto chicken), burgers, or alongside a fresh salad. It also makes a great snack with dips like ranch or marinara.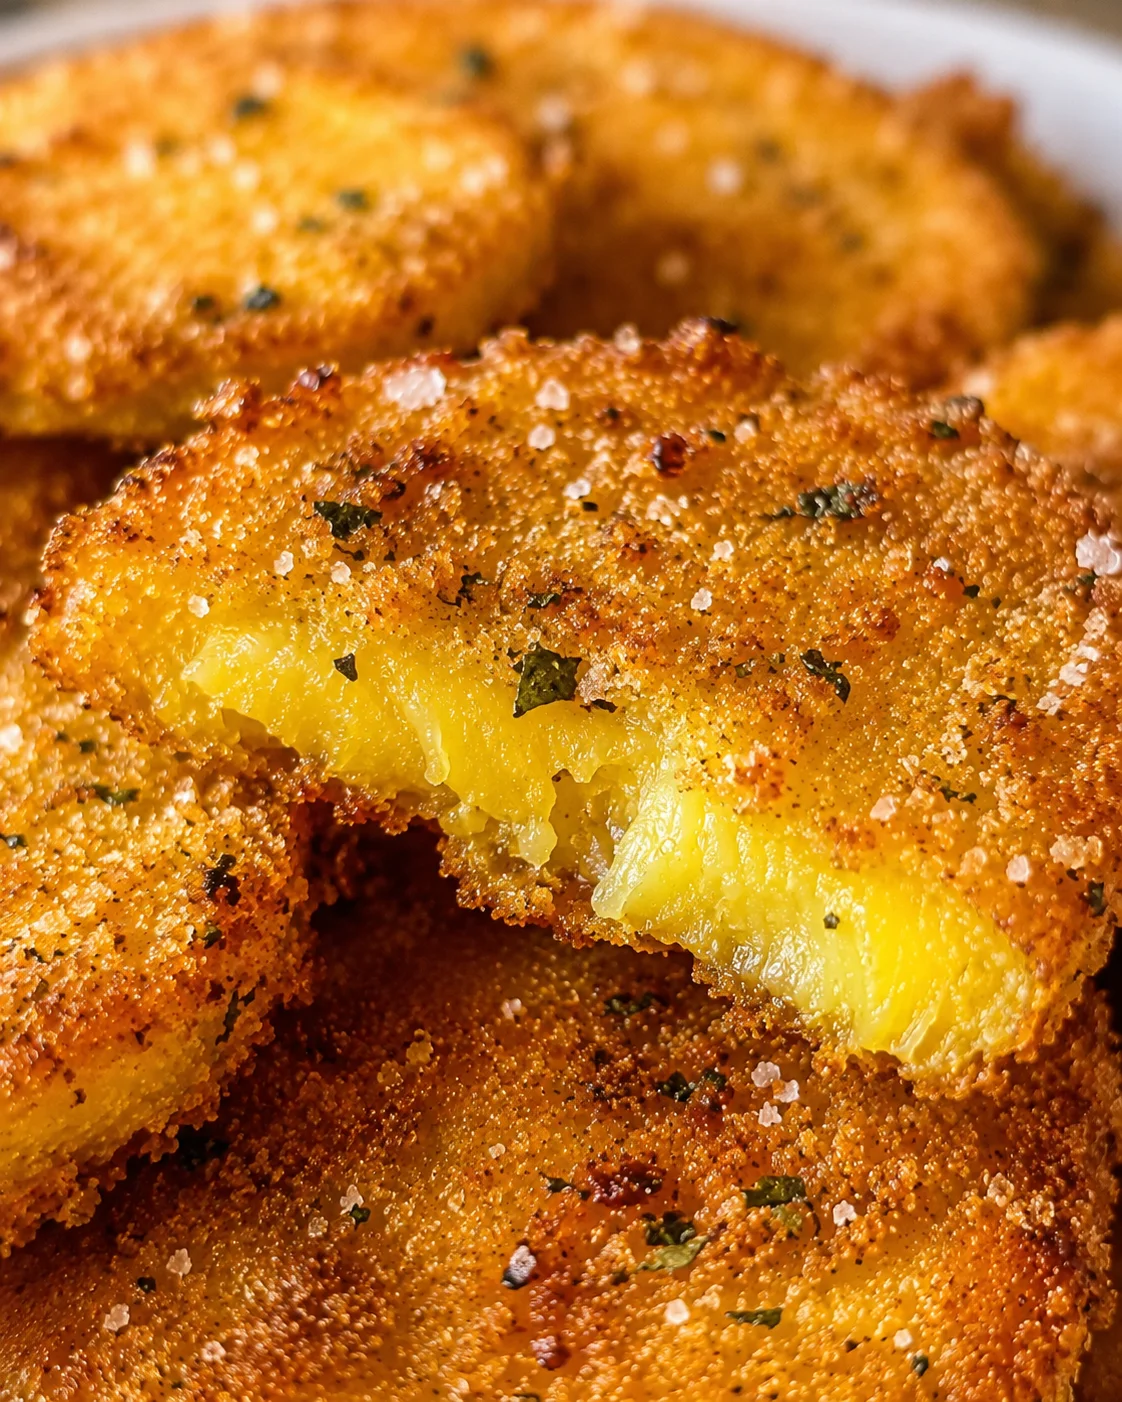
A crispy and healthy side dish featuring oven-baked yellow squash coated in flour, egg, and seasoned breadcrumbs, mimicking fried squash without deep frying.
- Prep Time: 10 minutes
- Cook Time: 20-25 minutes
- Total Time: 30-35 minutes
- Yield: 4 servings 1x
- Category: Side Dish
Ingredients
- 2 medium yellow squash, sliced about 1/4 inch thick
- 1/2 cup all-purpose flour
- 2 large eggs
- 1 cup seasoned breadcrumbs (or panko for extra crunch)
- 1/2 cup grated Parmesan cheese, divided
- 1 tsp garlic powder
- 1 tsp onion powder
- 1/2 tsp salt
- 1/4 tsp black pepper
- Cooking spray or olive oil spray
Instructions
- Preheat oven to 425°F (220°C) and line a baking sheet with parchment paper or a silicone mat; lightly spray the lined sheet with cooking spray.
- Slice the yellow squash into about 1/4-inch-thick rounds.
- Set up three shallow dishes: put flour in the first, beat the eggs until smooth in the second, and combine breadcrumbs, half the Parmesan, garlic powder, onion powder, salt, and pepper in the third.
- Pat squash slices dry with paper towels to remove excess moisture.
- Dip each squash slice in flour, shaking off excess, then dip in beaten egg, letting excess drip off.
- Press each slice into the breadcrumb mixture so the coating adheres.
- Arrange the coated slices on the prepared baking sheet in a single layer without touching.
- Lightly spray the tops of the arranged slices with cooking spray or olive oil spray.
- Bake for 20–25 minutes, flipping the slices halfway through baking for even browning.
- Remove the squash when golden and crispy, then sprinkle the remaining Parmesan over the hot slices.
Notes
Use panko breadcrumbs instead of regular for extra crunch., For gluten-free option, substitute all-purpose flour and breadcrumbs with gluten-free versions., For a vegan twist, use flax or chia egg replacer and nutritional yeast or vegan Parmesan instead of cheese., Do not overcrowd the baking sheet to avoid steaming and ensure crispiness., Flip slices halfway through baking for even crisping and browning., Leftovers can be stored in an airtight container in the refrigerator for up to 3 days and reheated in the oven at 375°F for about 10 minutes to restore crispiness.
Nutrition
- Serving Size: About 1/2 cup
- Calories: Approximately 120 calories per serving
- Fat: 4 g per serving
- Carbohydrates: 15 g per serving
- Protein: 5 g per serving