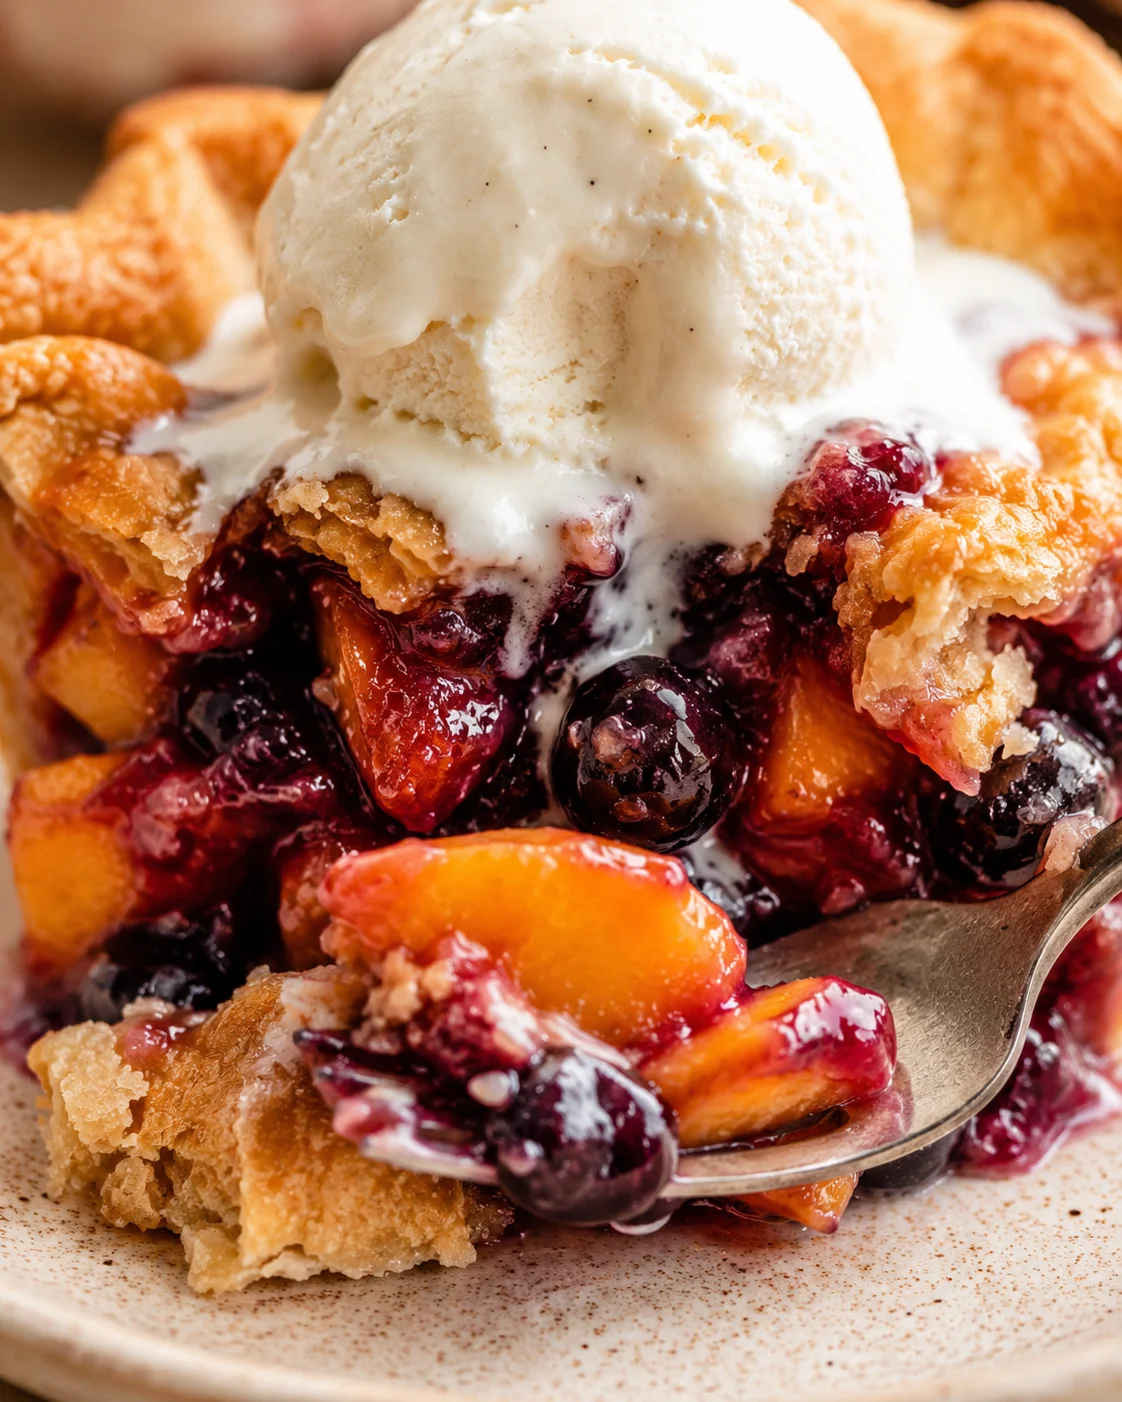
Blueberry Peach Pie

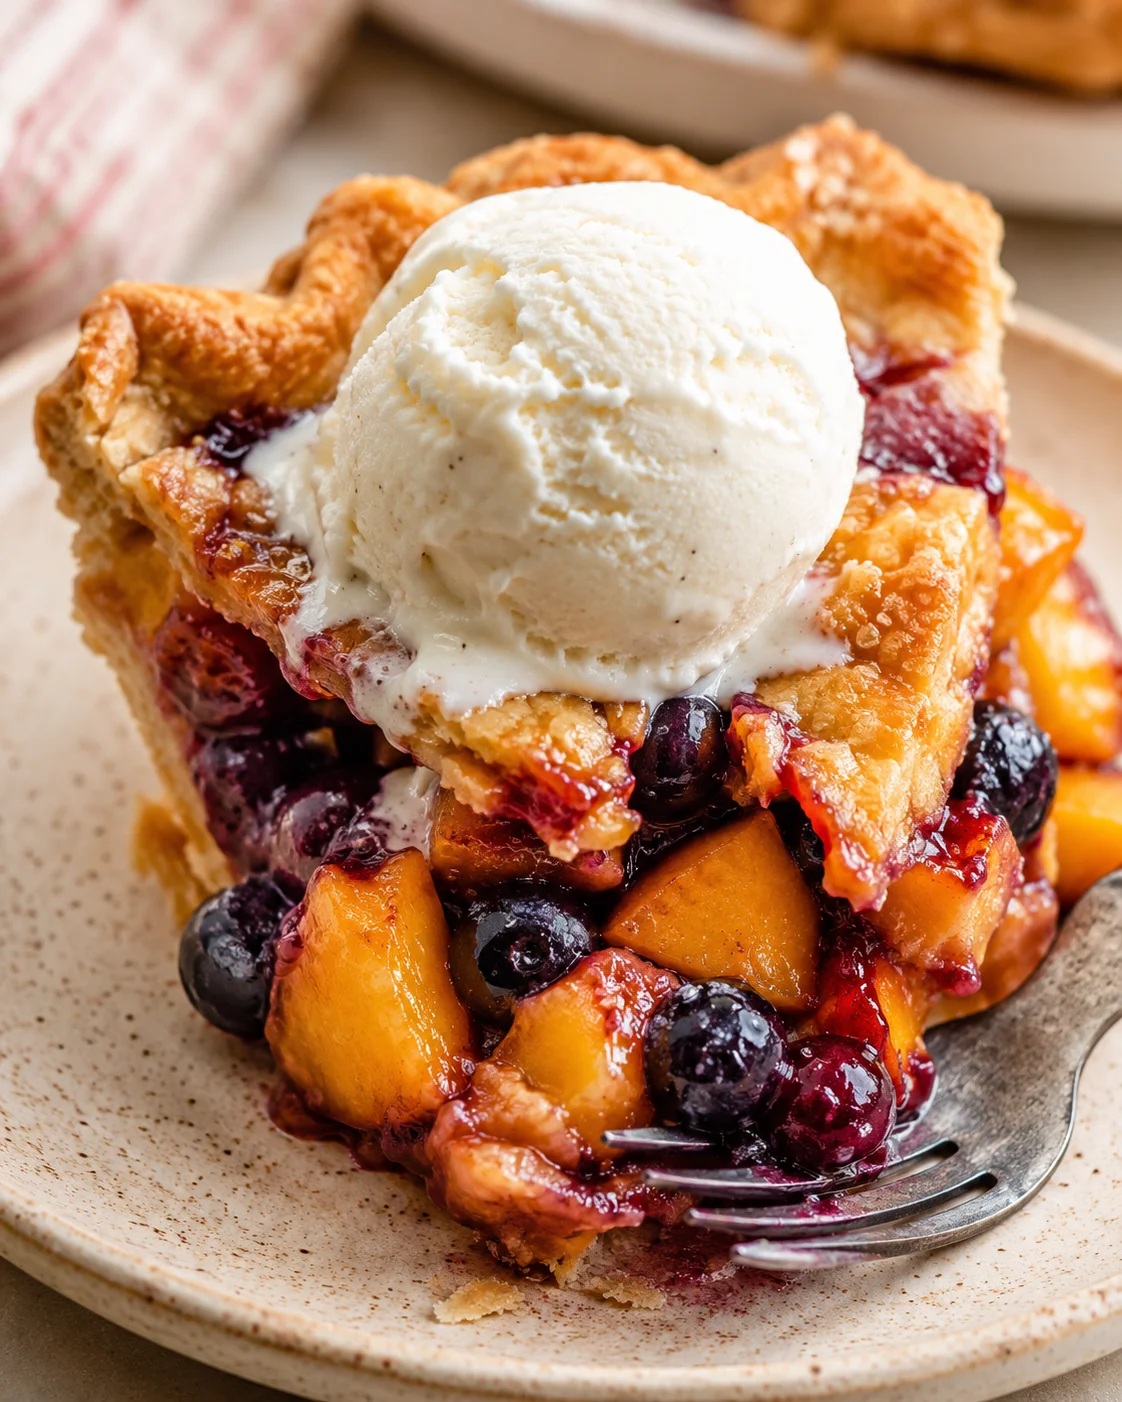
This blueberry peach pie is a delightful mix of two juicy summer fruits baked into a flaky, buttery crust that’s golden perfection. The filling is thick and full of flavor—not runny at all—thanks to a smart combo of cornstarch and flour plus a quick stovetop step to boil down extra fruit juices. This pie really shines when peaches are at their peak, and with the latest recipe tweaks, it bakes up beautifully and slices cleanly for a perfect dessert every time.
I first shared this recipe back in 2014, and since then I’ve refreshed it with new photos, added helpful tips for guaranteed success, and made a few tweaks to the filling that you’ll find in the printable recipe below.
Even though I tend to spotlight pies in November during my annual Pie Week and Thanksgiving baking, I want you to know that great pies aren’t just for holidays. In fact, summer is absolutely pie season, especially when you can make a fresh, juicy blueberry peach pie like this one.
What Makes It So Special
- A celebration of summer’s best fresh fruit
- Completely from scratch for that homemade magic
- Slices neatly without being sloppy or too soft
- Gently spiced with cinnamon and allspice for that warm, cozy flavor
- Brightened with fresh lemon juice for a perfect balance
- Baked in a flaky, buttery crust—but feel free to use your favorite or even store-bought crust if you’re short on time
My husband took one bite and declared it the best pie he’s ever had! It’s definitely a labor of love, but so worth every second! ★★★★★
I made this amazing pie last night and we enjoyed it for breakfast this morning… seriously delicious! I stuck exactly to the recipe and even weighed my fruit. The consistency was spot-on! ★★★★★
Love this recipe! One of my absolute favorite pies ever. ★★★★★
Let’s dive into the filling. When I first created this recipe in 2014, I used just flour to thicken the blueberry peach filling. While the flavor was spot-on, the pie wouldn’t set up for nice, clean slices. It was delicious, but more of a rustic, soft slice.
After baking this pie more times than I can count (because pie is my jam!), I’ve found that combining cornstarch and flour works best for the juicy mix of peaches and blueberries.
Here’s the scoop:
Cornstarch excels at thickening juicy, wet fruits like berries, while flour is great for binding larger fruit chunks like peaches, adding needed structure. Together, these thickeners give you a perfectly firm pie filling that remains juicy and flavorful.
But there’s more:
This pie is summer on a plate: juicy, balanced, and easy to slice. It showcases the fresh flavors of peaches and blueberries while fixing the usual problem of too-runny pie fillings. Here’s why you’ll keep coming back to this recipe:
- Perfectly set but juicy: The combo of cornstarch and flour plus reducing the juices on the stove creates a luscious, glossy filling that holds its shape without drying out.
- Fresh, bright flavors: Ripe peaches and blueberries get a bright kick from lemon and a warm hug from cinnamon and allspice for the perfect homemade fruit pie taste.
- Gorgeous presentation: A classic lattice crust (or any pretty top crust) gives this pie a stunning, bakery-worthy look that’s perfect for summer parties or casual family dinners.
- Every step is foolproof: The recipe guides you through all the key steps—juice reduction, starting the bake at a high temperature, baking long enough, and cooling fully—so even beginner bakers can succeed.
- Make-ahead friendly: You can assemble this pie a day early or freeze the dough and baked pie for easy planning.
- Flexible crust choices: Use my all-butter crust for rich flakiness, or swap in your go-to crust, homemade or store-bought.
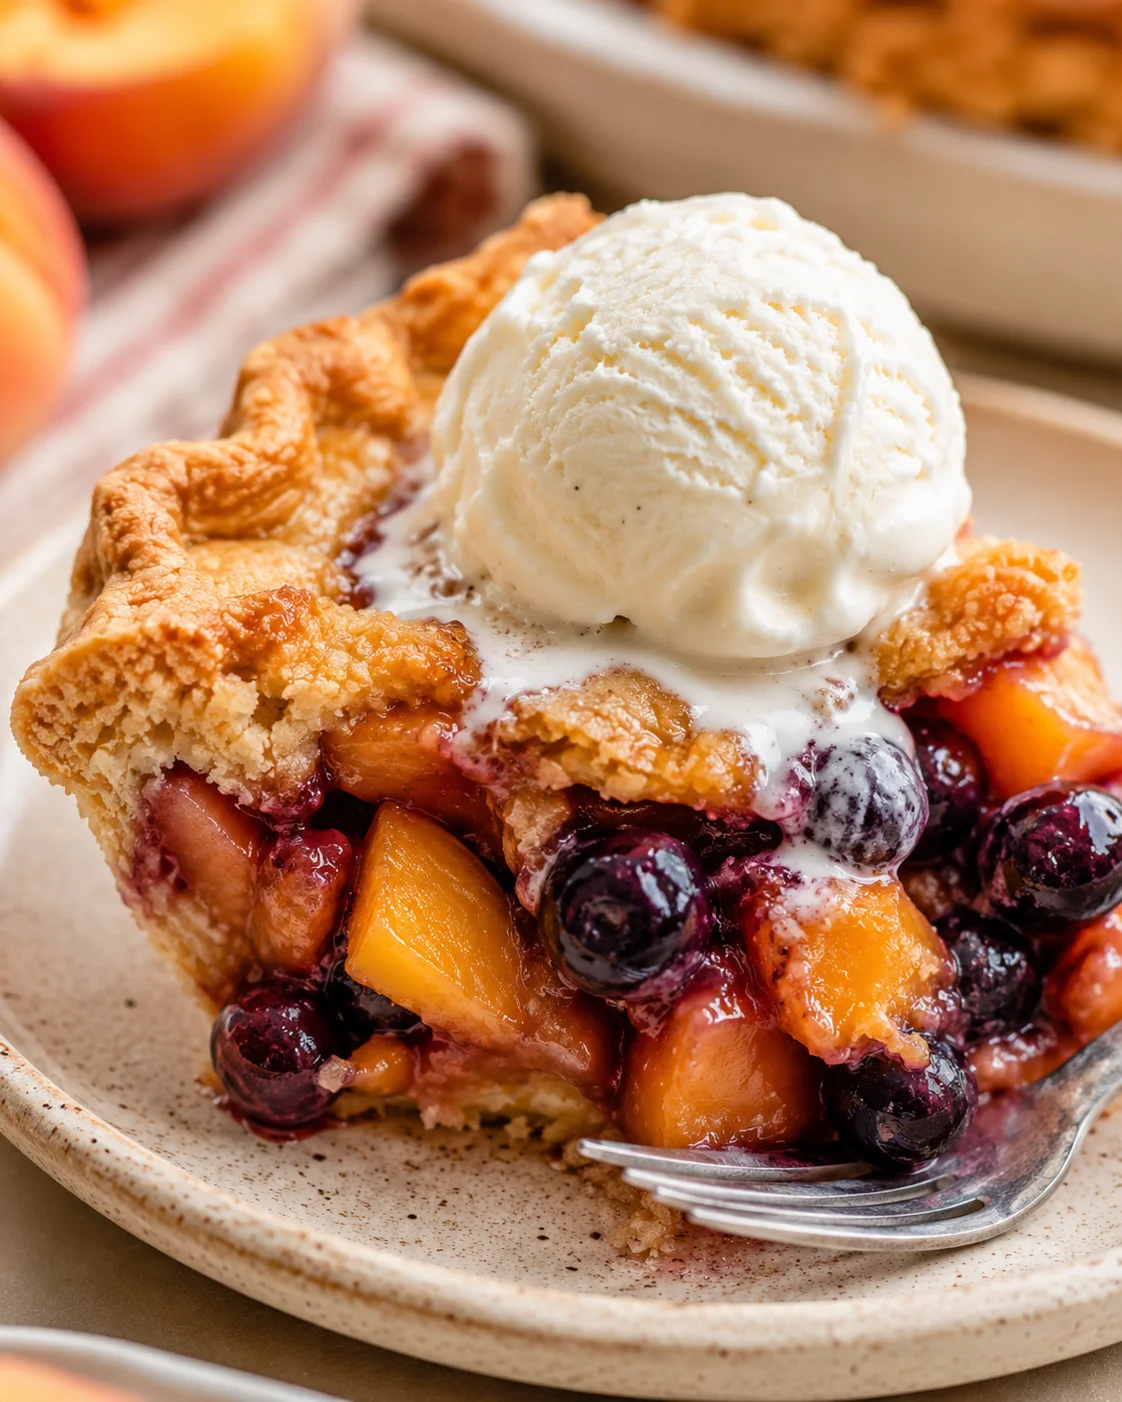
- Easy to dress up: A scoop of vanilla ice cream or a spoonful of whipped cream takes this pie from great to showstopper in seconds.
- Tested and perfected: Years of baking have shaped every detail for consistent texture and flavor you can count on.
In short: if you want a blueberry peach pie that’s juicy, beautiful, and holds together perfectly, this is a winner you’ll make year after year.
What You’ll Need to Bake
- All-Butter Pie Crust (makes 2 crusts for bottom and top)
- 6 cups (around 950g) peeled chopped peaches, cut into 1-inch chunks
- 1½ cups (210g) fresh blueberries
- 3/4 cup (150g) granulated sugar
- 3 Tablespoons (23g) cornstarch
- 2 Tablespoons (25g) all-purpose flour
- 3/4 teaspoon ground cinnamon
- 1/8 teaspoon ground allspice
- 1 Tablespoon (15ml) fresh lemon juice
- 1 Tablespoon (14g) cold unsalted butter, cut into small cubes
- Egg wash: 1 large egg beaten with 1 Tablespoon (15ml) milk
- Optional: coarse sugar for topping
Make the Filling and Bake
- Make pie crust dough and divide into two disks; chill until firm (enough for a 9-inch bottom and top crust).
- Peel peaches and cut into 1-inch chunks until you have about 6 cups.
- In a large bowl, combine peach chunks, blueberries, granulated sugar, cornstarch, all-purpose flour, ground cinnamon, ground allspice, and fresh lemon juice; toss to combine and refrigerate while rolling out dough.
- Set oven rack to the lower third and preheat oven to 425°F (218°C); place a baking sheet on the bottom rack to catch drips.
- Flour your work surface and roll one dough disk into a 12-inch circle; gently fit it into a 9-inch pie dish and smooth the bottom crust.
- Use a slotted spoon to transfer the fruit into the prepared crust, reserving the juices; return the pie to the fridge uncovered while you reduce the juice.
- Pour the reserved juice into a small saucepan and simmer gently over low heat, stirring, until thickened to an applesauce-like consistency (about 1–2 minutes); cool 5 minutes.
- Pour the reduced juice over the fruit in the crust and gently toss to combine; dot the filling with small cubes of cold unsalted butter.
- Chill the assembled filling in the crust while you roll out the top dough disk.
-
Roll the second dough disk into a 12–15 inch circle, cut into ~1¼-inch strips, and weave into a lattice over the filling; trim excess dough, fold bottom edges over, and crimp or flute the edges.
- Brush the top crust with egg wash (1 large egg beaten with 1 tablespoon milk) and sprinkle coarse sugar if desired.
- Bake the pie at 425°F (218°C) for 20 minutes.
- Reduce oven temperature to 375°F (190°C), cover the crust edges with a pie shield or foil, and continue baking for an additional 45–50 minutes until the filling bubbles across the surface (tent foil over the whole pie if edges brown too quickly).
- Cool the pie on a wire rack for at least 5 hours before slicing.
Tips for Perfectly Set Filling
- Reduce juices first: Simmer the juice extracted by sugar for a minute or two—it really makes the filling thicken nicely and keeps it juicy.
- Look for bubbling: Bake until the filling bubbles all around the edges and center to ensure it’s fully cooked and set. Aim for about 200°F (93°C) internal temperature for perfect doneness.
Here’s what you’ll need for the filling:
- Peaches: About 6 cups chopped (950g), which usually means 8 medium peaches depending on size.
- Blueberries: Fresh, 1½ cups (210g).
- Sugar: Helps draw out natural juices to activate the thickeners.
- Cornstarch: Thickens juicy fruit mixtures like blueberries beautifully.
- Flour: Gives structure and supports cornstarch in setting up the filling.
- Cinnamon & Allspice: Offer warmth and depth. If you don’t have allspice, nutmeg or ginger are great swaps.
- Lemon Juice: Adds brightness and balances sweetness.
- Butter: Small cubes of butter dotted on top make the filling richer and smoother. Optional but tasty!
Can I use frozen fruit?
I don’t recommend it here. The fresh peaches and blueberries release plenty of juice naturally, and frozen fruit tends to add extra water, making the filling too runny. Fresh is best for this blueberry peach pie.
How firm should the peaches be?
Look for peaches that are slightly firm with no bruises or soft spots. I buy around 8 firm peaches and let them ripen a day or two in a paper bag if needed. Cutting into chunks—not slices—helps the peaches keep their shape and texture in the pie. This trick works wonders for peach pies and cobblers alike.
- To easily peel peaches, plunge them into boiling water for 30-60 seconds, then transfer to a bowl. The skins will slip right off.
- If you skip the boiling water trick, a good vegetable peeler also works. I like the OXO brand because it’s flexible and comfortable to use. Just be ready for slippery fingers from all the juice!
- Use a sharp knife to cut peaches into chunks, rinsing your hands and knife often to keep everything from sliding around.
And blueberries? They’re the easy part—no peeling, no chopping, just wash and toss! They’re my favorite pie fruit for fuss-free prep.
Crust and Filling Variations
I went with a traditional lattice for the top crust here because it looks classic and pretty, but feel free to get creative. Here are some fun options:
- Lattice Crust: The classic woven look I love for berry and apple pies alike.
- Braided Crust: Try braiding dough strips for a fancy, homemade touch that’ll wow your guests.
- Cookie Cutter Shapes: Use small cutters to add fun shapes on top for a whimsical look. You can see examples and a video tutorial in my pie crust designs post.
How to Store and Prep Ahead
You have options for crust here: my all-butter pie crust, my buttery flaky crust with both shortening and butter, your trusted homemade crust, or even store-bought. I used the all-butter version in the photos.
Both homemade doughs need to chill in the fridge for at least 2 hours, so plan ahead. The dough keeps well up to 5 days refrigerated or up to 3 months frozen—so you can prep dough in advance and save time on baking day.
This blueberry peach pie takes several hours total, but most of that is hands-off while the pie bakes and cools. Patience pays off because, importantly, you don’t need to par-bake the crust since the pie bakes long enough to get it perfectly cooked.
Answers to Common Questions
- Can I use frozen or canned fruit? No, this recipe is made for fresh peaches and blueberries. Frozen or thawed fruit adds extra water, making the filling too loose.
- How ripe should the peaches be? Look for peaches that are slightly firm with no soft spots. Buy extra to allow for imperfect fruit and ripen in a paper bag for 1–2 days if needed. Cut into 1-inch chunks instead of slices.
- Can I use store-bought pie crust? Yes! Store-bought or your favorite homemade crust will work fine. The recipe assumes you have a bottom crust ready with a top crust to cover.
- Is par-baking the crust necessary? No. This pie bakes long enough that par-baking isn’t needed.
- How do I know when the pie’s done? The filling should be bubbling around the edges and in the center. For best accuracy, the filling’s internal temperature should reach around 200°F (93°C).
- How long should the pie cool before slicing? Cool it completely at room temperature for at least 5 hours to let the filling set so slices aren’t runny.
- Can I make the pie ahead or freeze it? Yes! Assembled pie can be made a day ahead. Unbaked dough keeps in the fridge for up to 5 days or frozen up to 3 months. Baked pie freezes well for 3 months—thaw overnight in the fridge and bring to room temp before serving.
- What if I don’t want to use cornstarch? Using both cornstarch and flour gives the best texture and firm set. If you prefer the older version, skip cornstarch, increase flour to 6 tablespoons (75g), and skip the juice reduction step.