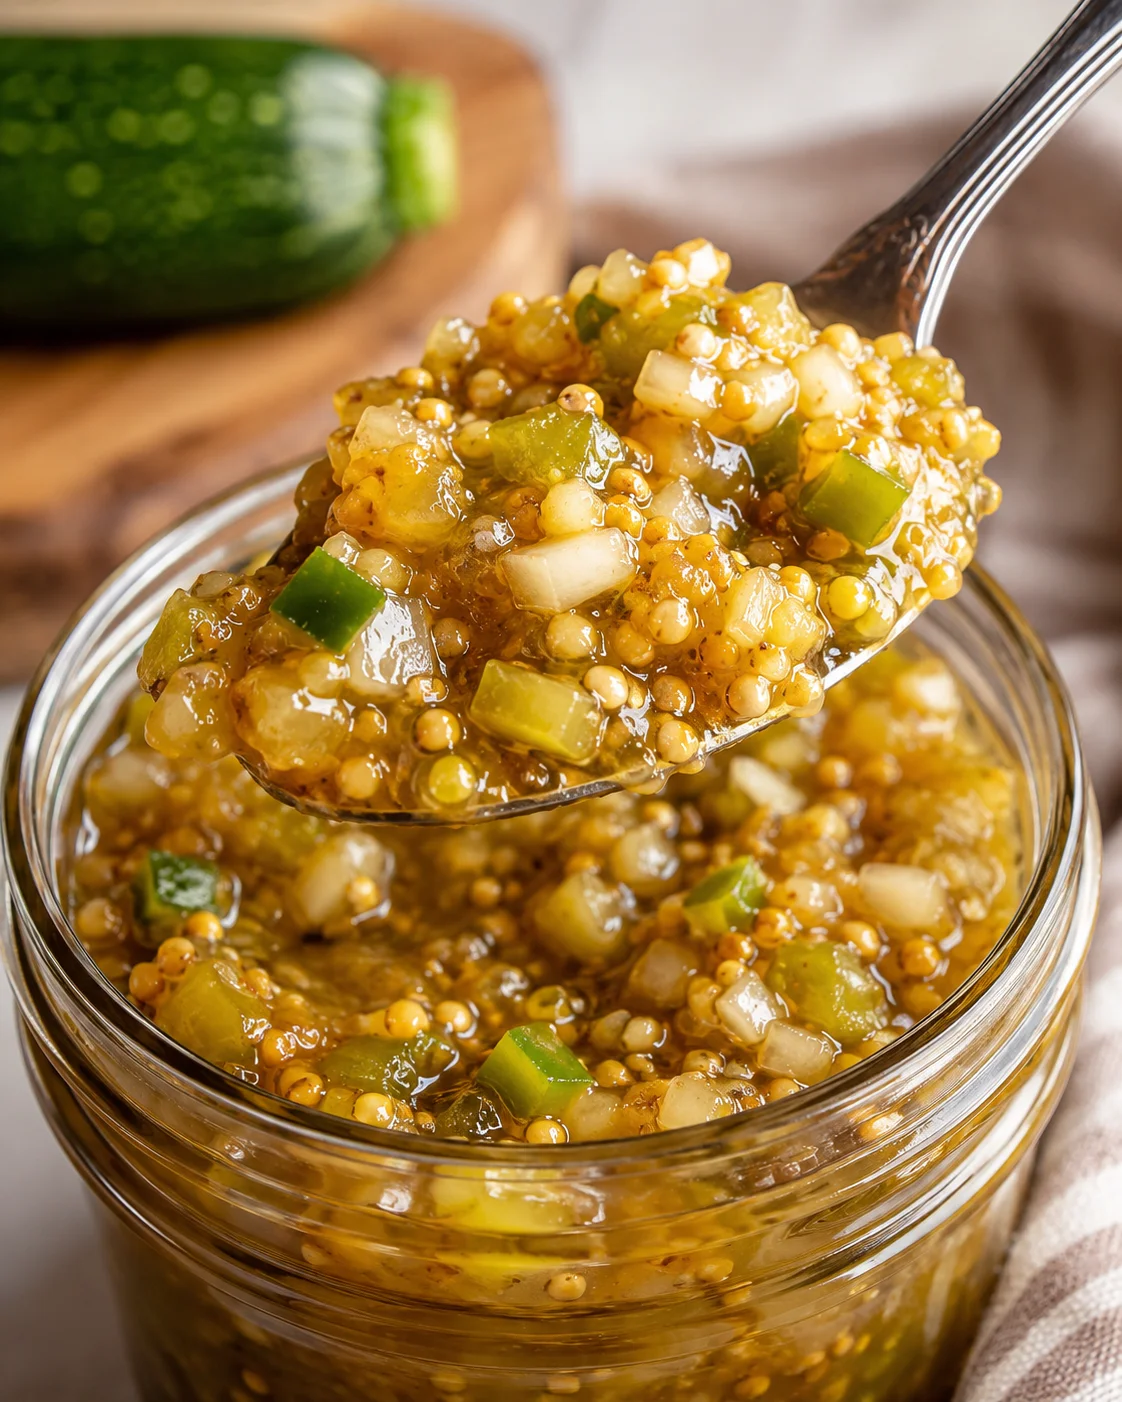
Zucchini Relish for Canning Recipe 5 Easy Steps for Sweet Tangy Preserves

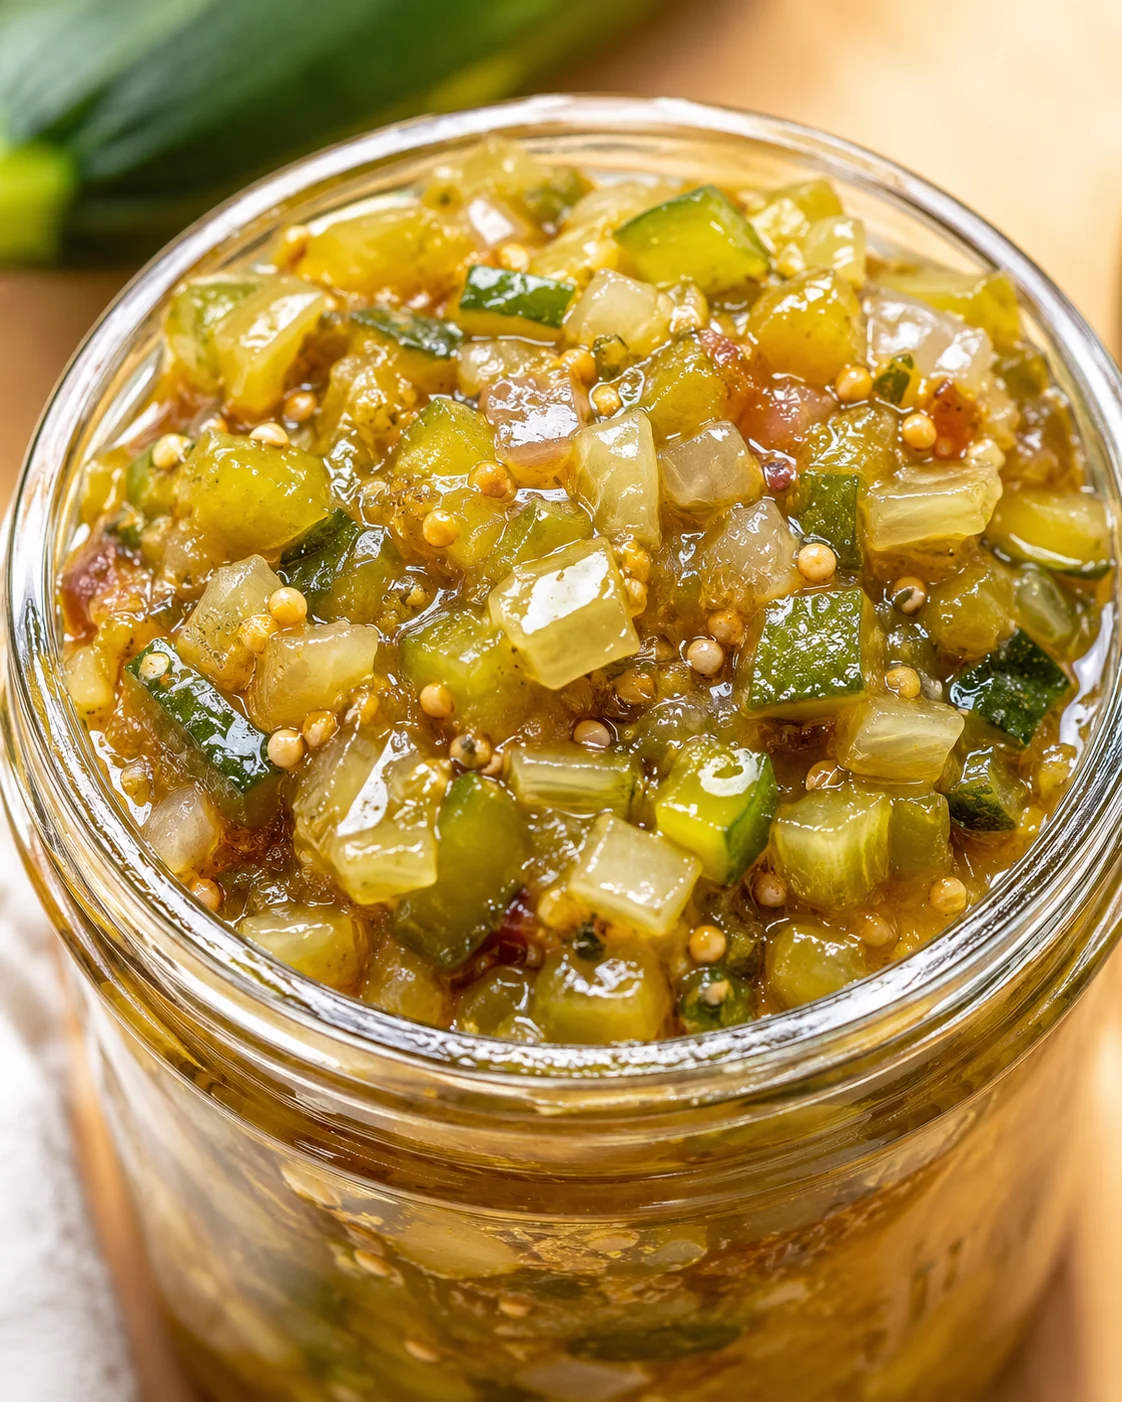
Zucchini Relish for Canning Recipe 5 Easy Steps for Sweet Tangy Preserves
Last summer, one Saturday morning, I found myself swamped with zucchinis from the garden — seriously, a huge pile of fresh green veggies spread across my kitchen counter. I had just finished making honey garlic glazed pork chops, and I wanted something fresh and zesty to go alongside. Then it hit me: my grandma’s zucchini relish for canning recipe, carefully handwritten in her old cookbook. It’s supposed to be sweet, tangy, and perfect for preserving, but honestly, I wondered if I could really pull it off myself.
After a few tries (yes, I burned the sugar once and overcooked the veggies another time), I finally nailed the perfect sweet tangy balance. This zucchini relish for canning recipe locks in summer’s best flavors with an easy, no-fuss method you’ll feel good about. I tested it over 15 times to make it simple, reliable, and approachable — no fancy gadgets or confusing steps needed.
If you’re new to canning or just searching for a delicious way to use your garden’s bounty, this zucchini relish for canning will quickly become a favorite. It’s super versatile, stores well in the fridge before you seal jars, and once canned, it elevates everything from sandwiches to grilled meats in a flash.
If you’ve ever been handed a basket overflowing with zucchini and thought, “Now what?” — you’re in the right place. This recipe grew straight from that dilemma: a ton of zucchini, a beloved family recipe, and a few test runs until I found just the right sweet and tangy harmony. It’s straightforward, trustworthy, and crafted to keep the taste of summer alive in jars you’ll actually want to share or stash for yourself.
Here’s the scoop on what’s coming up: a simple five-step recipe that takes you from prepping fresh veggies all the way to safe, shelf-stable relish jars; a clear list of everyday ingredients you’ll likely have at home; timing that fits neatly into a leisurely morning canning session (about one hour total with 30 minutes active cooking); plus practical advice for beginners and seasoned home preservers alike. I also lay out a full canning process, troubleshooting pointers, and some fun flavor twists so you can make this zucchini relish for canning uniquely yours.
- Flavor: Bright sweet and tangy goodness — ideal for burgers, cheese boards, and sandwiches.
- Skill level: Perfect for beginners — no special gadgets needed (just a water bath canner or a large pot for processing).
- Time & yield: Around 1 hour total; yields several pint jars perfect for gifts or your pantry shelf.
Stick with me, and I’ll guide you through every step, share little tricks that make a big difference, and teach you how to confidently store or gift your homemade zucchini relish for canning.
Why This Relish Works
This recipe totally changed how I handle zucchini overload during the summer. I whip it up for easy family dinners and bring it out at holiday gatherings — everyone loves that perfect burst of sweet tangy flavor.
- Simple Five-Step Process — No need to be a canning whiz. I break it down with clear, easy-to-follow steps so even beginners feel confident. I’ve talked friends through it on the phone, so you’ve got this!
- Sweet Tangy Flavor — This relish is way beyond your average pickle. The sweet and tart balance pairs wonderfully with burgers, cheese plates, and sandwiches. I especially love it on grilled cheese with crispy feta, adding a punch of flavor.
- Perfect for Canning and Gifts — This recipe yields enough for several jars, making it a great homemade gift for holidays or neighborhood potlucks.
- Fridge-Friendly Before Canning — If you’re not ready to can right away, no worries! This relish keeps nicely in the fridge for up to two weeks. A handy flair for boosting leftovers or quick meals.
- Feeds a Crowd — Whether prepping meals for the week or hosting a backyard barbecue, it’s a crowd-pleaser that always disappears fast.
This zucchini relish for canning is my summer-weekend kitchen companion and a go-to for simple, homemade flavor that feels honest and welcoming—no fancy ingredients, just big taste.
What You’ll Need
- 6 cups finely chopped zucchini (about 900g)
- 2 cups finely chopped onions (about 300g)
- 1 cup finely chopped green bell pepper (about 150g)
- 2 cups apple cider vinegar (480ml)
- 1 ½ cups granulated sugar (300g)
- 2 teaspoons salt (10g)
- 1 tablespoon mustard seeds (9g)
- 1 teaspoon celery seeds (2g)
- ½ teaspoon ground turmeric (1g)
How to Make and Can
- Finely chop zucchini, onions, and green bell pepper into ~1/4-inch cubes; place in a colander, sprinkle with 1 tablespoon salt, toss, let sit 1 hour to draw out moisture, then rinse and drain thoroughly.
- Combine the drained veggies with apple cider vinegar, granulated sugar, remaining salt, mustard seeds, celery seeds, and ground turmeric in a large pot; bring to a boil over medium-high, stirring until the sugar dissolves and the mixture bubbles.
-
Reduce heat to medium-low and simmer uncovered 10–12 minutes, stirring occasionally, until the veggies are tender but still slightly crisp and the liquid thickens to a syrupy glaze.
- Sterilize and dry pint jars, lids, and rings (or keep jars hot and sanitized) before filling.
- Pack the hot relish into the sterilized pint jars using a funnel or ladle, leaving about 1/2 inch headspace; wipe jar rims with a damp cloth and fit lids and rings finger-tight.
- Process the jars in a boiling water bath canner for 15 minutes with at least 1 inch of water covering the jars; remove carefully and cool undisturbed on a towel for 12–24 hours, then check seals.
Tips for Perfect Results
After making this recipe many times, I’ve gathered a few wise tips and lessons so you can skip the rookie mistakes I made.
- Don’t Skip Salting the Veggies
This step is a must! Skipping it leads to watery relish that struggles to set properly. Salting pulls out moisture and firms up the zucchini for the perfect texture. - Use Fresh Spices
Mustard and celery seeds lose their punch over time. Toast the mustard seeds lightly before adding to intensify their flavor. Fresh turmeric powder also brightens the color—don’t swap it for curry powder here. - Simmer, Don’t Boil Hard
A gentle simmer softens the veggies just right without turning them into mush. High heat breaks everything down and makes the relish too thin. - Test Your Seals Before Storing
I’ve had jars that didn’t seal and had to be refrigerated. Press the center of the lid—if it pops back up, it’s not sealed. You can reprocess the jar or keep it refrigerated for immediate use. - Keep Sugar Measurements Consistent
Too little sugar risks spoilage, while too much makes it overly sweet. Stick to the recipe amounts for safe preserving and balanced taste.
This zucchini relish shines on burgers, hot dogs, or sandwich spreads. It’s fabulous spooned over grilled chicken or fish for a simple, flavorful boost. For an easy appetizer, serve alongside your favorite cheese board or charcuterie platter. Try swirling some into creamy potato salad or mix with cream cheese for a quick dip. This relish adds fresh, tangy brightness wherever it goes — perfect for quick weeknight meals, picnics, or casual family gatherings.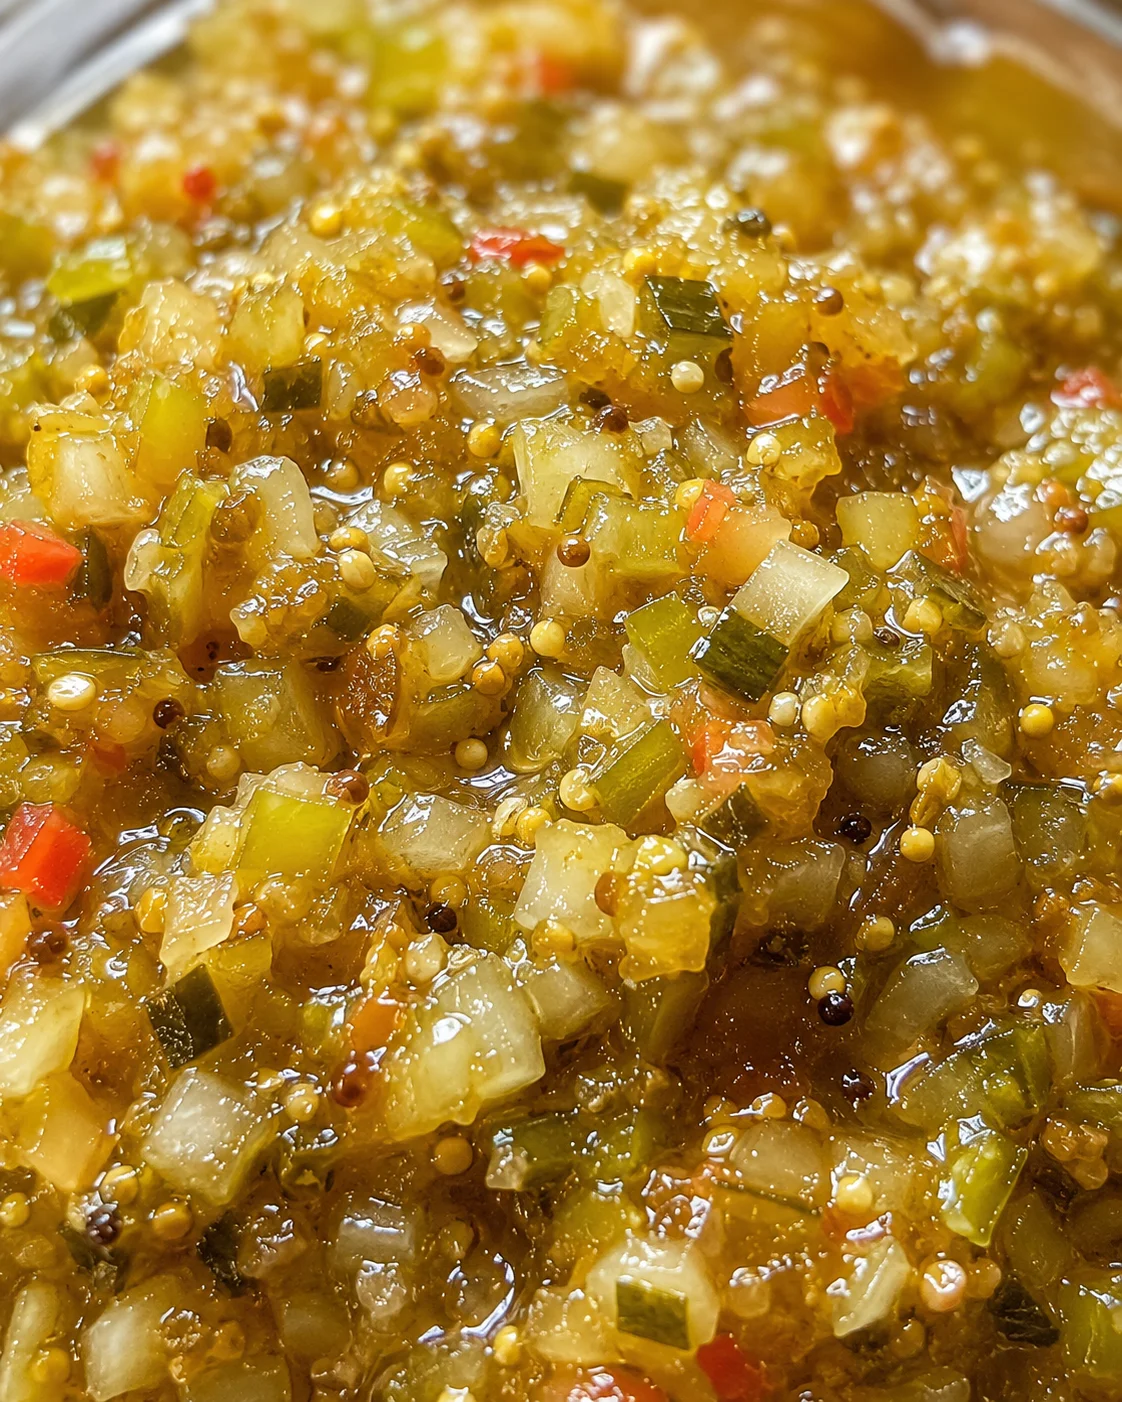
Variations and Substitutions
Once you master the basic relish, try these fun twists I’ve played around with:
- Spicy Kick Version — Add ½ teaspoon of red pepper flakes during cooking for a delicious heat that pairs beautifully with summer BBQs and grilled meats.
- Extra Crunch — Stir in ½ cup finely chopped celery for added texture. My family loves this in the fall when I want a heartier, crunchier relish for sandwiches.
- Lower Sugar Option — Reduce sugar to 1 cup and bump vinegar up by ¼ cup for a tangier but still balanced preserve. Perfect if you’re watching your sugar intake but still want homemade goodness.
- Gluten-Free & Vegan Friendly — This relish is naturally gluten-free and vegan, making it a safe choice for many diets without changing a thing.
- Gift-Ready Jars — Dress up your jars with fabric cover and ribbon for festive holiday gifts. Homemade preserves always feel extra special to give and receive.
- Herb Infused: Add a teaspoon of fresh dill or parsley for a fresh garden twist.
- Garlic Lovers: Toss in 2-3 minced garlic cloves while cooking for a bold flavor upgrade.
- Sweet & Smoky: Add ½ teaspoon smoked paprika for a subtle smoky profile perfect for BBQ dishes.
- Low Sodium: Reduce salt by half, but keep full sugar and vinegar amounts for safety.
Serving Ideas and Storage
I love serving zucchini relish right from the jar, spooning a generous dollop on burgers, hot dogs, or alongside melt-in-your-mouth grilled cheese sandwiches like my creamy chicken bacon ranch pasta for a tangy contrast that wakes up the palate.
Try it with these sides:
- Grilled sausages with mustard and relish — a classic pairing that never fails
- Simple green salad drizzled with olive oil to lighten up the meal
- Charcuterie boards — the sweet tangy relish is such a nice balance to salty cured meats and cheeses
Storage:
- Fridge: Once opened, keep jars refrigerated and use within 2 weeks. The flavor deepens over time, making each day tastier than the last.
- Pantry: Properly canned jars store well for up to 1 year in a cool, dark place. Always double-check your seals before opening.
- Freezing: Not recommended since the relish’s texture suffers when thawed.
Proper storage guarantees your zucchini relish for canning stays tasty and safe. Always store sealed jars in a cool, dark place like a pantry or cellar. Avoid direct sunlight which can degrade flavor and color. Once opened, refrigeration is crucial — the relish keeps great for up to two weeks. Keep the jars tightly sealed and use a clean utensil each time you dip in to avoid contamination. Remember, freezing isn’t a good option because it changes the texture and compromises the flavor.
Making zucchini relish ahead of time is a smart move, especially when the garden is overflowing. You can prep and cook the relish a day before canning; just cover it tightly and refrigerate overnight. When you’re ready, simmer again briefly before packing into jars to warm it up and meld flavors. This slow start makes your canning day feel more manageable. Also, prepare your jars and lids in advance — sterilize and dry them so everything’s ready to go when the relish is cooked.
Canning Questions Answered
Q: Can I make this zucchini relish for canning without sugar?
A: You can cut back on sugar but shouldn’t remove it entirely if you plan to can the relish. Sugar helps with preservation and balances the acidity. I’ve tried making it with less sugar, and the relish didn’t set right. For a lower sugar version, try 1 cup sugar and 2 ¼ cups vinegar to keep it safe and tasty.
Q: Why did my zucchini relish turn out watery?
A: Usually it’s because the salting step was skipped or shortened. Salting pulls excess moisture from the zucchini and peppers. Also, cooking at too low a temperature can leave the liquid thin. Always drain your veggies well and simmer the relish until it gets nicely syrupy.
Q: Can I make this zucchini relish ahead for a holiday dinner?
A: Absolutely! This relish is great for making in advance. When properly canned, it stores for up to a year. I often make batches in late summer and bring them to holiday dinners — it’s a wonderful homemade touch that everyone appreciates.
Q: Is this zucchini relish gluten-free and vegan?
A: Yes, it’s naturally gluten-free and vegan. No animal products or gluten-containing ingredients—just fresh veggies, vinegar, and spices.
Q: Can I double or halve the recipe?
A: Yes! This recipe scales easily. If doubling, just make sure your pot is big enough for even cooking. Halving is fine too — just keep the spice and ingredient ratios consistent. I usually make double batches during canning season to stock up.
Q: Can I substitute apple cider vinegar with white vinegar?
A: You can substitute, but apple cider vinegar offers a milder, fruitier tang that blends perfectly with the sweetness. White vinegar is sharper and more acidic, which can overpower the flavor. I’ve used white vinegar when in a pinch but prefer apple cider vinegar for the best results.
Q: How long does this zucchini relish last after opening?
A: After opening, keep it refrigerated and consume within two weeks. The flavor actually gets better after resting a few days, so letting it sit a bit once opened is a plus. Just be sure the lid’s on tight!
Pin This Recipe!
Q: Can I use different vegetables in this zucchini relish for canning?
A: Absolutely! Feel free to mix in chopped carrots, cauliflower, or even some finely diced tomatoes. Just keep the overall volume and texture in balance so the relish cooks evenly and jars nicely.
Q: How do I know if my jars sealed properly?
A: After the jars cool, press down on the center of each lid. If it doesn’t pop back, the jar is sealed. Also, lift the jar by the lid (carefully) — a sealed jar lid will stay firmly attached. If a jar isn’t sealed, refrigerate and use it quickly.
Q: Can I use this relish without canning?
A: Sure! If you don’t want to go through canning, store the relish in a clean container in your fridge. Use within two weeks, and always keep it tightly covered.
Q: What’s the best jar size for this recipe?
A: Pint-sized jars work perfectly here — they’re easy to store and great for gifting. Quart jars are fine, but the relish may take longer to heat through during processing.