Easy Old Fashioned Squash Fritters Recipe

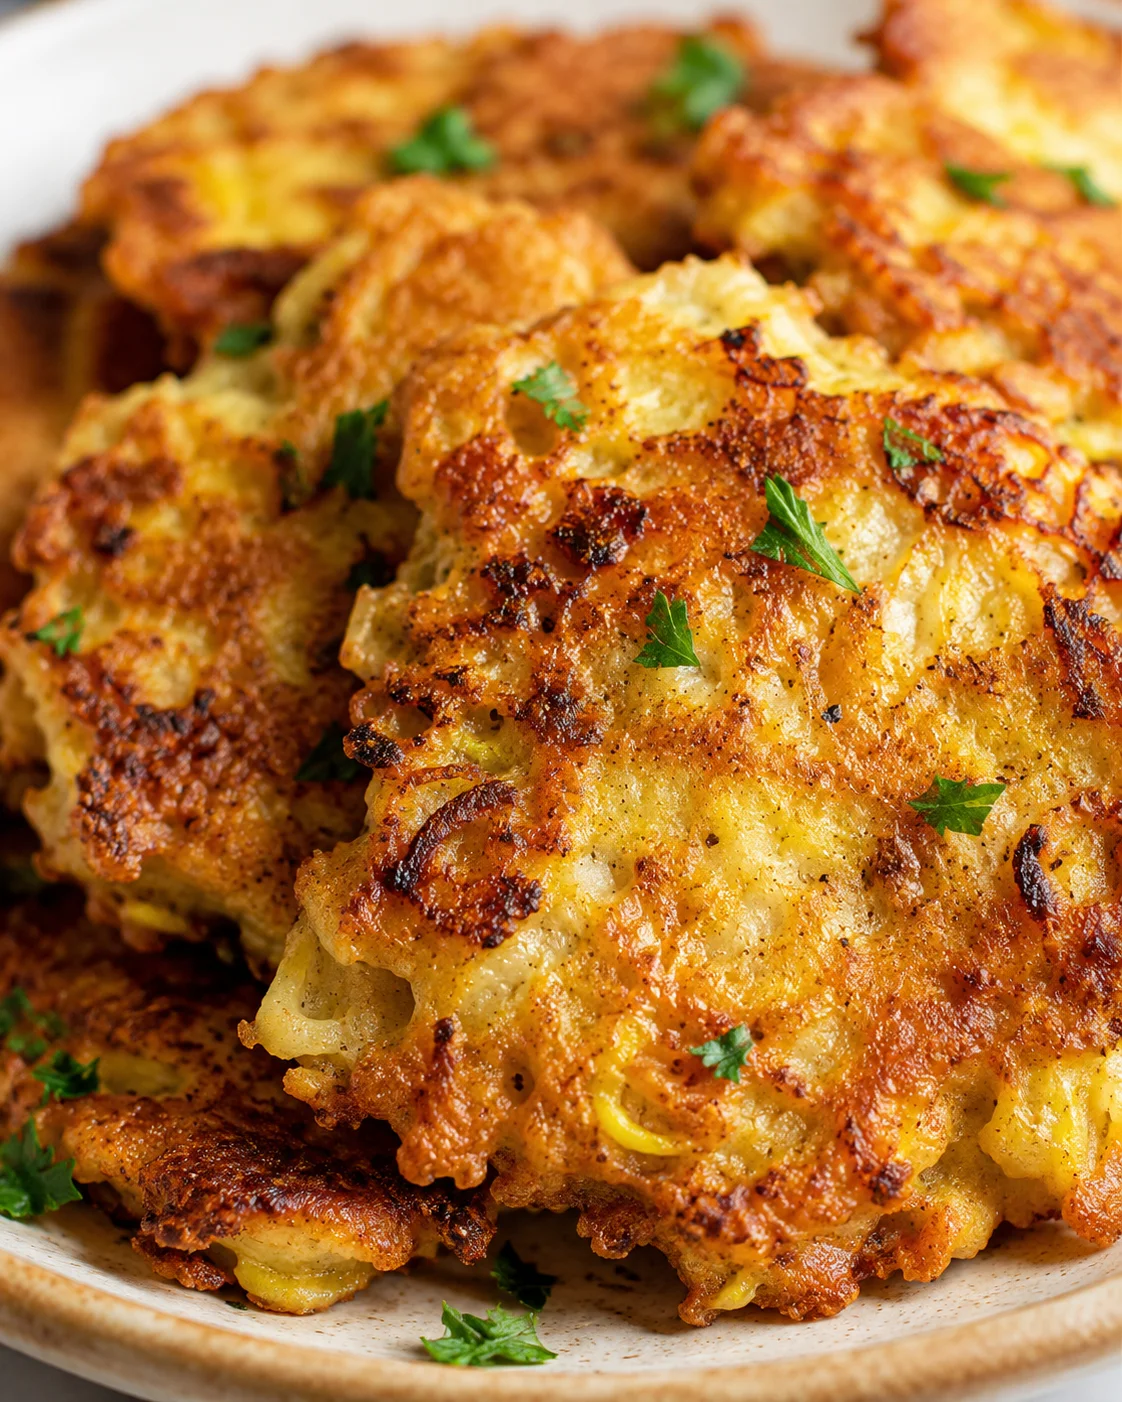
Today, I’m excited to share my Easy Old Fashioned Squash Fritters Recipe. This one’s a real Southern gem — a true favorite side dish that never fails to please!
Hey, friends! If there’s one thing that instantly takes me back to my grandma’s kitchen, it’s a warm plate piled high with golden squash fritters. Crispy on the edges and tender in the center—now that’s Southern comfort food at its finest.
These little crispy treats were a must-have when the garden was bursting with yellow squash during those long summer days. Nothing got wasted, and everyone loved these bites of pure goodness. You’re going to adore them, I promise! Plus, you can never have too many ways to use up fresh summer squash, right?
My recipe for old fashioned squash fritters is super simple and quick. You’ll be frying up a batch in no time with just a handful of easy ingredients, a skillet, and a bit of love. They make a wonderful side dish for dinner, a snack that hits the spot, or even a fun appetizer for your next gathering.
So, pull up a chair, grab your favorite glass of sweet tea, and let’s make some crispy, golden fritters that’ll feel just like home on your plate.
Looks amazing, doesn’t it? I just love a crispy squash fritter! When I first shared a photo of these online and asked if y’all wanted the recipe, the answer was a big, resounding YES. So here we are!
You’re about to dive into some truly delightful Southern cooking with these Easy Old Fashioned Squash Fritters. This post will guide you every step of the way to creating glorious golden fritters using everyday ingredients you likely have on hand and just a skillet. Got a basket of summer squash or zucchini, a grater, and about 15 minutes for prep? Perfect. You’re ready to roll.
Here’s what you’ll find in this post: a detailed ingredient list and recipe card (Prep time: 15 minutes, Cook time: around 8 minutes, optional but worth it drain time: 1 hour), step-by-step photos showing how to grate, drain, mix, and fry to perfection, plus insider tips to keep your fritters crispy. I’ll also share ideas to customize your fritters and how best to store and reheat leftovers so they taste just as good the next day. This recipe makes roughly 26 small fritters — enough for about 6 hungry people, but you can always adjust the portions.
Whether you’re looking for a quick weeknight side, a nostalgic dish that tastes just like grandma used to make, or a crowd-pleasing appetizer, this old fashioned squash fritters recipe will have you covered. Scroll down to get cooking or keep reading for extra tips and ways to make this recipe your own.
Why These Are Irresistible
Here’s why these old fashioned squash fritters are a must-make:
- Simple Ingredients – Chances are, you’ve got everything on hand already.
- Southern Comfort – Crispy outside, tender inside, just like classic Southern fried squash.
- Perfect for Summer – A delicious way to make good use of fresh garden squash; if you’ve got extras, bake a healthy squash and zucchini casserole.
- Versatile Dish – Serve as a side, snack, or even an appetizer for guests.
- Quick & Easy – Ready in a snap, perfect for busy nights when you need something yummy fast.
What You’ll Need
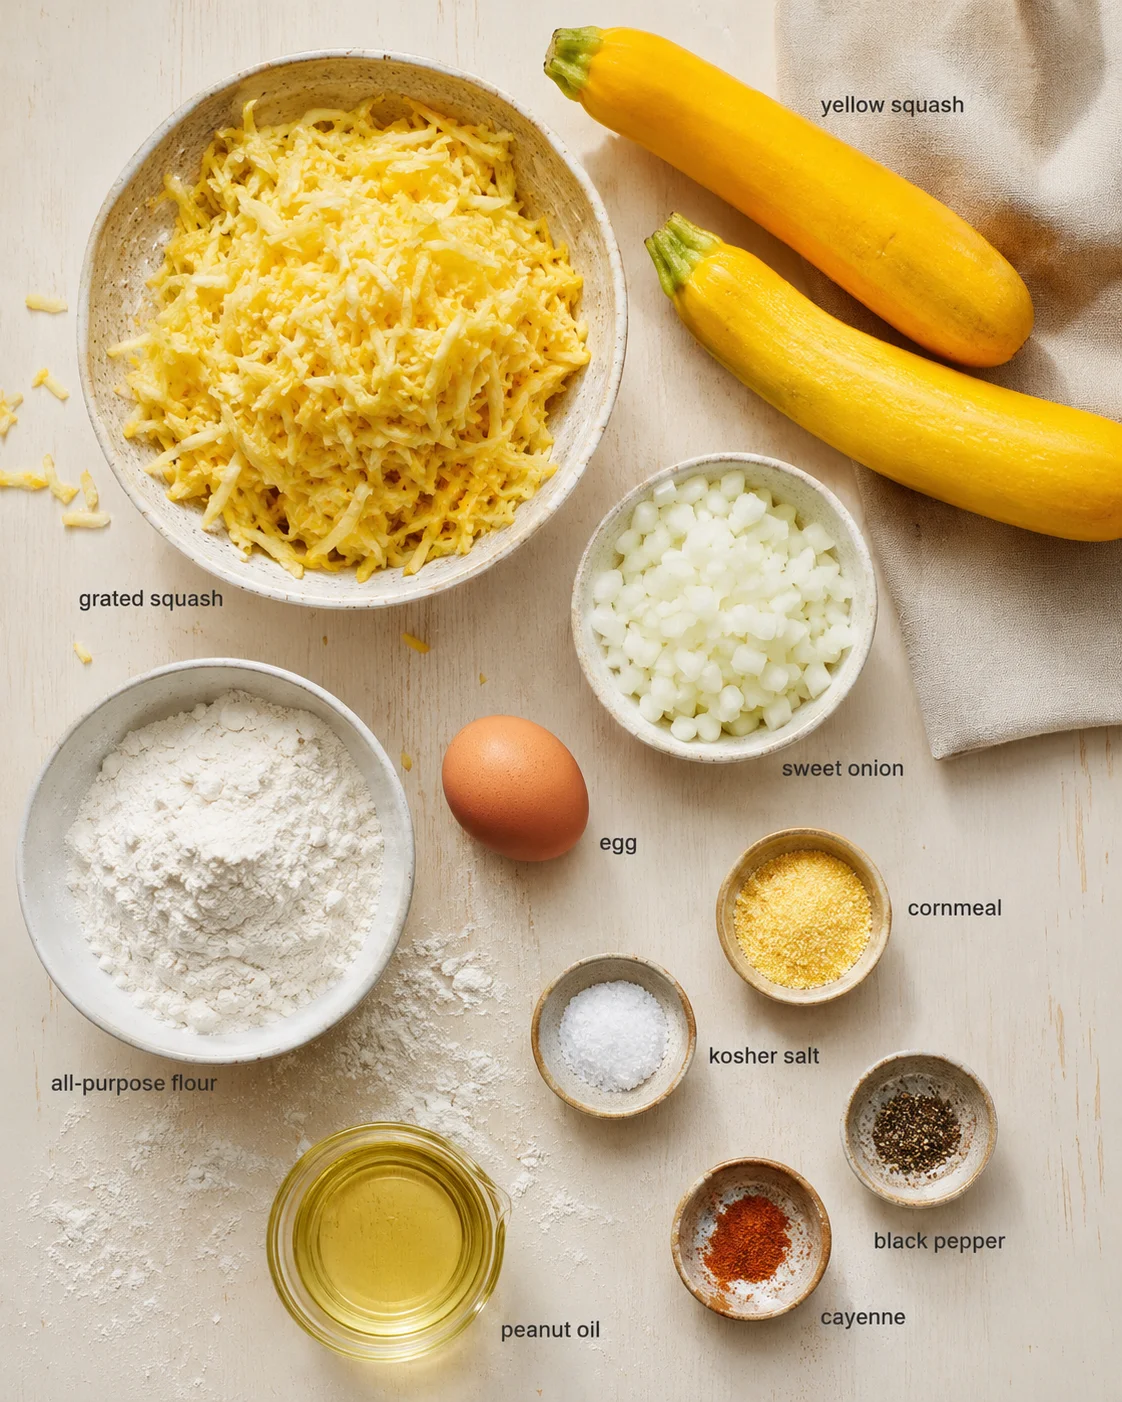
- 2 Medium/Large Yellow Summer Squash about 4 cups grated
- ½ cup Sweet Onion finely diced
- 1 Large Egg
- 1 cup All Purpose Flour plus more if needed
- 2 Tablespoons Cornmeal (optional but tasty!)
- 1 teaspoon Kosher Salt divided
- ¼ teaspoon Cracked Black Pepper
- 1/16 teaspoon Cayenne Pepper a pinch
- ⅓ cup Oil for frying (enough to coat your pan’s bottom, peanut oil recommended)
Making the Fritters
- Wash squash and trim the ends.
- Grate squash (use a box grater) until you have about 4 cups.
- Finely dice the sweet onion.
- Toss grated squash and diced onion into a colander set over a bowl and sprinkle with 1/4 teaspoon kosher salt.
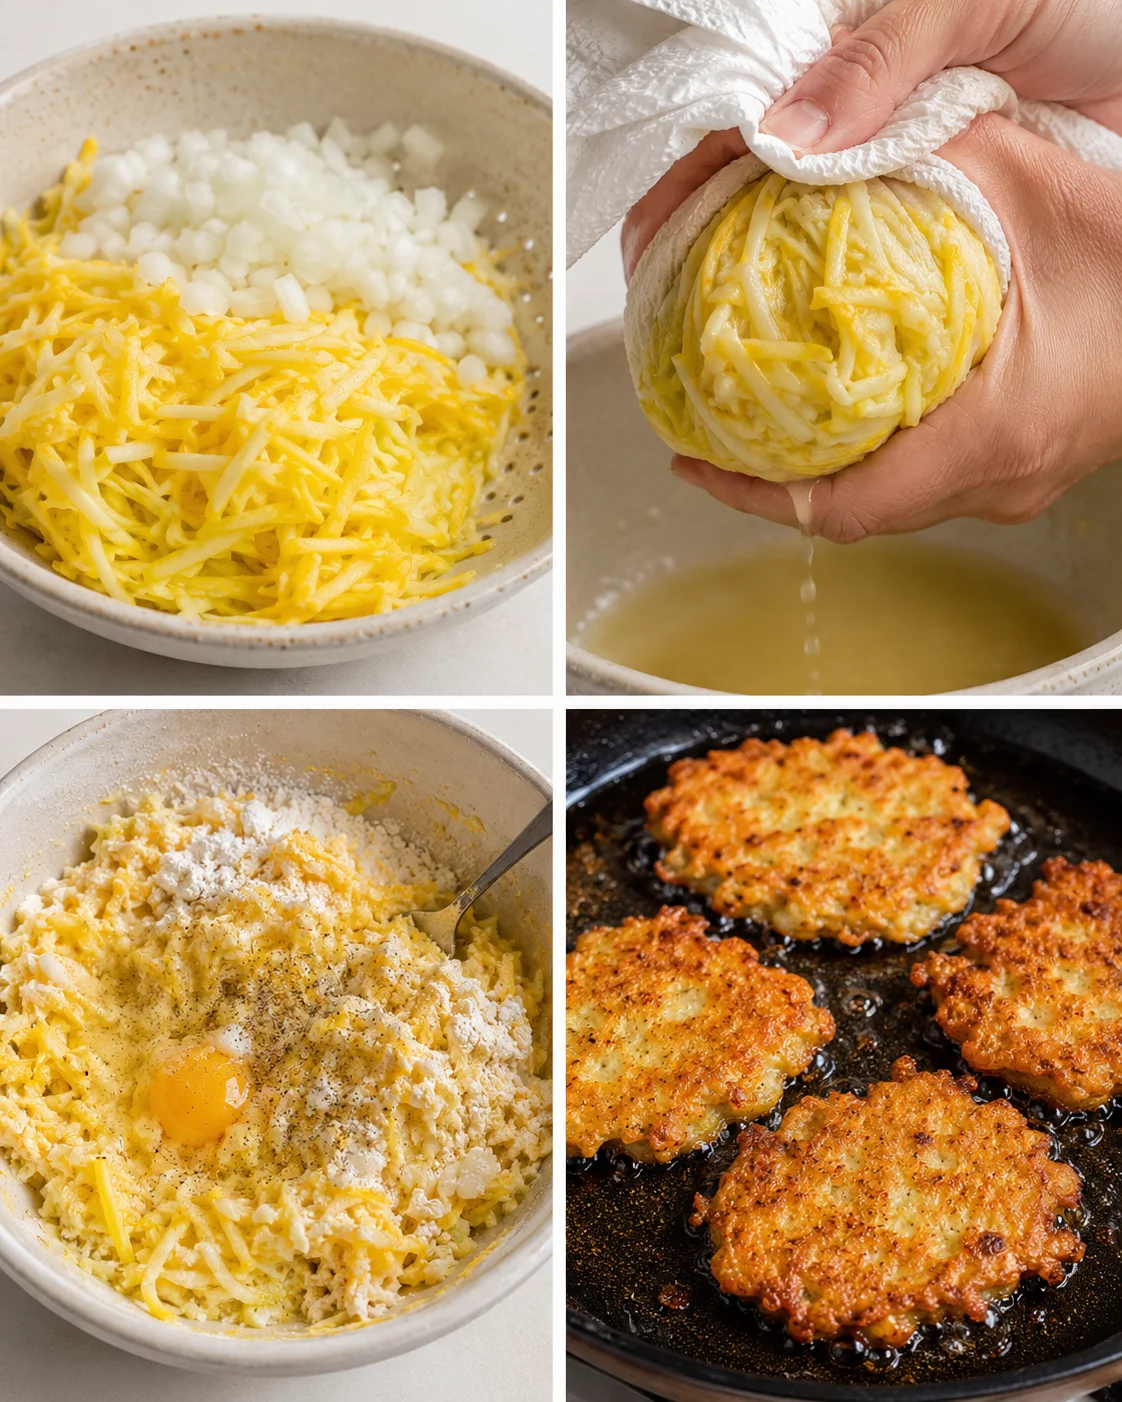
- Let the squash and onion sit in the colander over the bowl for at least 1 hour to draw out moisture (optional but recommended).
- After resting, wrap the squash mixture in paper towels or a clean dish towel and squeeze out as much liquid as possible; pour off the collected liquid from the bowl.
- In a large bowl, combine the drained squash and onion with the egg, 1 cup all-purpose flour, 2 tablespoons cornmeal (optional), the remaining salt, cracked black pepper, and a pinch of cayenne; stir until the batter is thick enough to hold together.
- Pour about 1/3 cup oil into a large skillet (cast iron recommended) and heat over medium-high until the oil is shimmering (about 350–375°F if using a thermometer).
- Use a small scoop or spoon to portion batter into the hot oil and press each portion down slightly to flatten.
- Fry the fritters in batches without crowding the pan, cooking about 3 to 4 minutes per side until golden brown and crispy.
-
Flip fritters and cook the other side until cooked through and crisp.
- Remove fritters with a slotted spatula and transfer to a paper towel-lined plate or sheet pan to drain.
- Let fritters cool slightly on the paper towels, then serve warm.
Kitchen Tips & Troubleshooting
- Do I need to peel the squash before making fritters?
Nope! The skin is tender and adds nice color and nutrients. Just give your squash a good wash, trim the ends, and grate it all with the peel on. - How do I keep my fritters from getting soggy?
The key is to get out as much moisture as possible from the grated squash. After grating, salt it, let it sit, then squeeze tightly in paper towels or a clean dish towel. Also, don’t crowd the pan and make sure the oil is hot so the fritters sizzle immediately—that helps keep them crispy. This little method is my favorite for perfect fritters every time! - Can I make squash fritters ahead of time?
Yes! You can fry them hours ahead, then reheat in a hot oven (about 375°F) to get them crispy again—similar to the technique in our easy oven-fried squash recipe. They freeze well, too — just freeze single layers on a baking sheet, then store in bags and reheat straight from frozen.
Flavor Twists & Add-Ins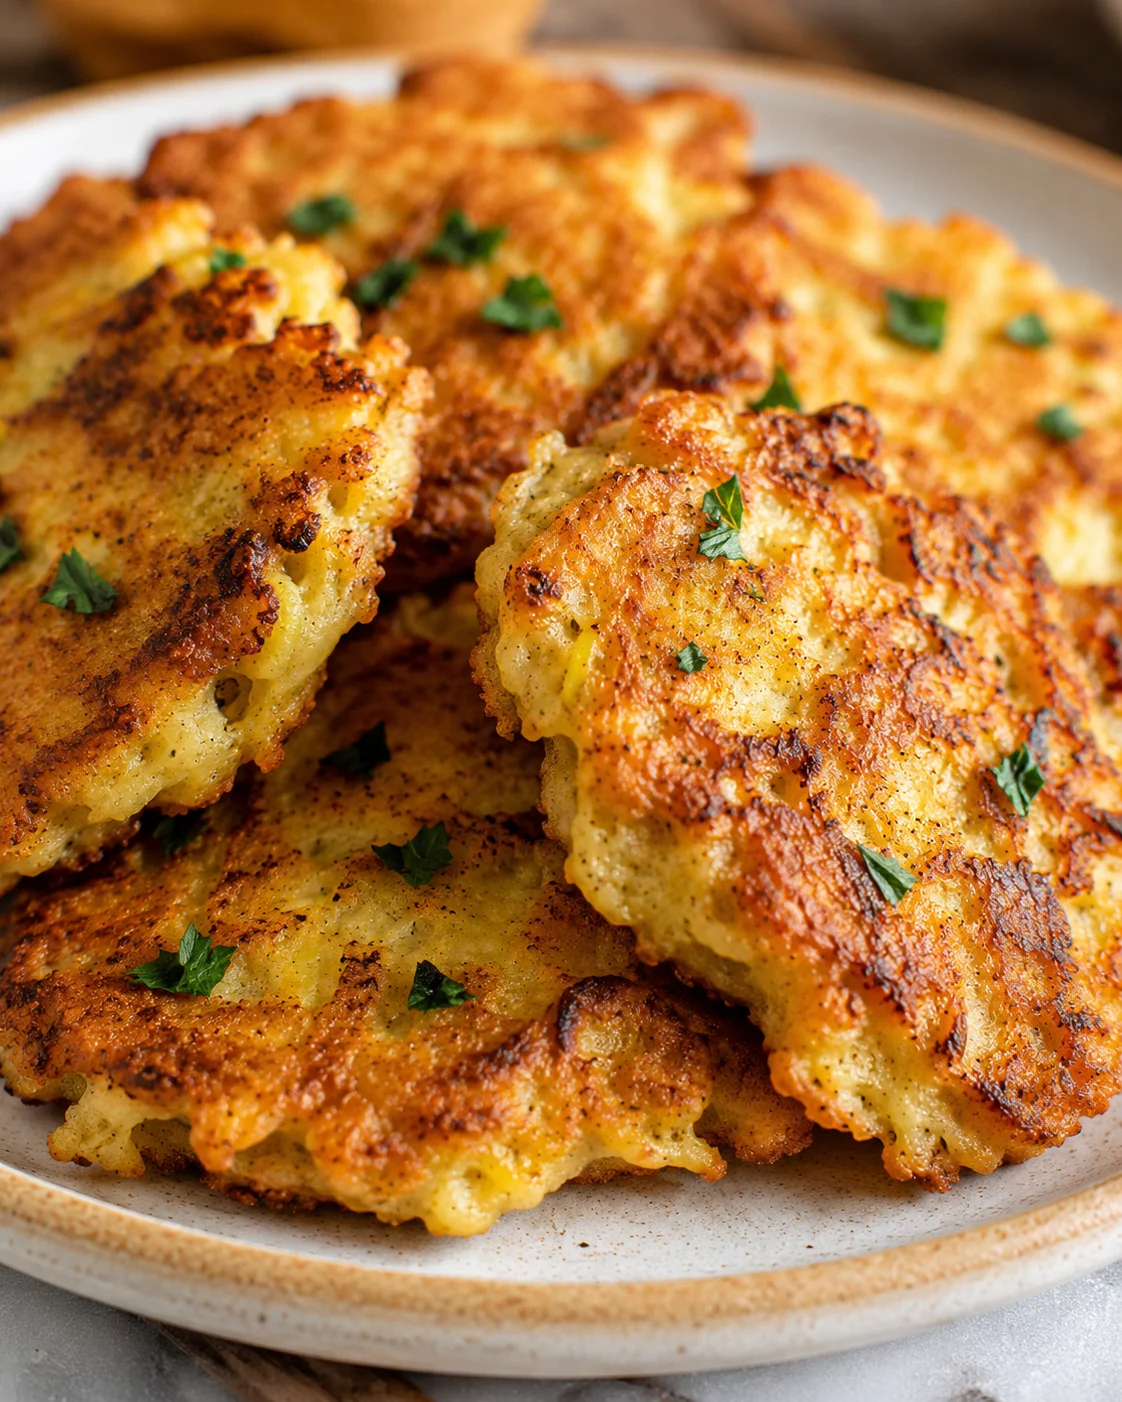
If you want to mix things up with your old fashioned squash fritters, here are some tasty ideas:
- Cheesy Squash Fritters – Add shredded cheddar, parmesan, or your favorite cheeses for a richer flavor.
- Spicy Kick – Mix in cayenne, diced jalapeño, or crushed red pepper flakes for some heat.
- Herby Goodness – Fresh herbs like parsley, dill, or chives add a bright, fresh note.
- Corn & Squash Fritters – Stir in fresh or canned corn kernels for a sweet twist.
- Gluten-Free Version – Swap the flour for a gluten-free blend or use more cornmeal.
- Zucchini Option – Replace yellow squash with zucchini or use a mix of both to vary the taste and texture; if you want another crispy zucchini snack, try this Zucchini Breadsticks Recipe for Kids.
- Breakfast Style – Add cooked bacon bits or sausage for a savory morning treat, or pair your fritters with a slice of crustless cottage cheese zucchini quiche.
Storage, Freezing, and Reheating
- Refrigerate: Let fritters cool fully, then store them in an airtight container lined with paper towels to keep them crisp. They stay good for up to 3 days.
- Freeze: Freeze fritters on a baking sheet in a single layer until frozen solid. Then transfer to a freezer bag or container, layering parchment paper between fritters to prevent sticking. Keep frozen for up to 2 months.
- Reheat: For the best crispy results, warm fritters in a 375°F oven or an air fryer until heated through. Skip the microwave, which can turn them soggy.
easy old fashioned squash fritters recipe
So, there you have it — a straight-up simple recipe packed with flavor and Southern warmth. These old fashioned squash fritters might not be fancy, but they sure bring smiles around the table. They’re proof that some of the best dishes come from humble ingredients, a little patience, and plenty of love.
Remember, home-cooked meals don’t have to be complicated!
Whether you serve them alongside a hearty country supper—try them with Zesty Baked Catfish Filets or a crisp slaw made with this Basic Coleslaw Dressing Recipe—or sneak a few hot from the skillet as a snack, I’m confident these fritters will become a favorite in your kitchen. So when your garden blesses you with a basket of squash, remember this recipe and fry up a batch of golden goodness.
From my home to yours, happy cooking y’all — and don’t forget to share these fritters with someone special. That’s the heart of Southern cooking.
Answers to Common Questions
- Do I need to peel the squash?
No way! The peel is tender and adds great color and nutrients. Just wash well, trim the ends, and grate with the skin on. - How long should I drain the grated squash?
Let the squash and onion sit mixed in a colander over a bowl for at least 1 hour (this recipe’s recommendation). After draining, wrap in paper or kitchen towels and squeeze out as much moisture as you can. - How do I keep fritters from getting soggy?
The most important step is removing excess moisture. Don’t crowd the skillet and make sure your oil is hot enough so the fritters sizzle immediately. That seals the outside for a perfectly crispy crust. - What oil should I use and at what temperature?
Use a neutral oil with a high smoke point like peanut, canola, or vegetable oil. Heat over medium-high until shimmering, around 350–375°F if you use a thermometer. - Can I make these with zucchini or mix squash types?
Definitely! Zucchini works great in place of yellow squash, or you can use half-and-half for a nice mix. If you have extra zucchini on hand, try 20 Minute Roasted Zucchini – The Perfect Quick Side Dish. - Can I make fritters ahead or freeze them?
You sure can. Cooked fritters keep in the fridge for up to 3 days. For freezing, cool completely, freeze on a sheet pan, then store in bags with parchment between layers. Good for up to 2 months. - How should I reheat leftovers?
Reheat in a 375°F oven or air fryer until hot and crispy again. Avoid microwaving since it tends to make fritters soggy. - Can I make these gluten-free or egg-free?
Swap regular flour for gluten-free blend or add more cornmeal to keep it crispy. For no eggs, try flax eggs or commercial binders, but texture may vary. - How long do I fry them and how do I know when they’re done?
Fry about 3–4 minutes per side until golden brown and crispy. Drain on paper towels and they’re ready to serve. - How many fritters does this recipe make and what’s a serving?
The yield depends on your fritter size. I usually get about 26 small fritters with a small scoop. The recipe card serves 6 people, but please adjust as needed. Each serving has about 224 calories (check the card above for full nutrition details).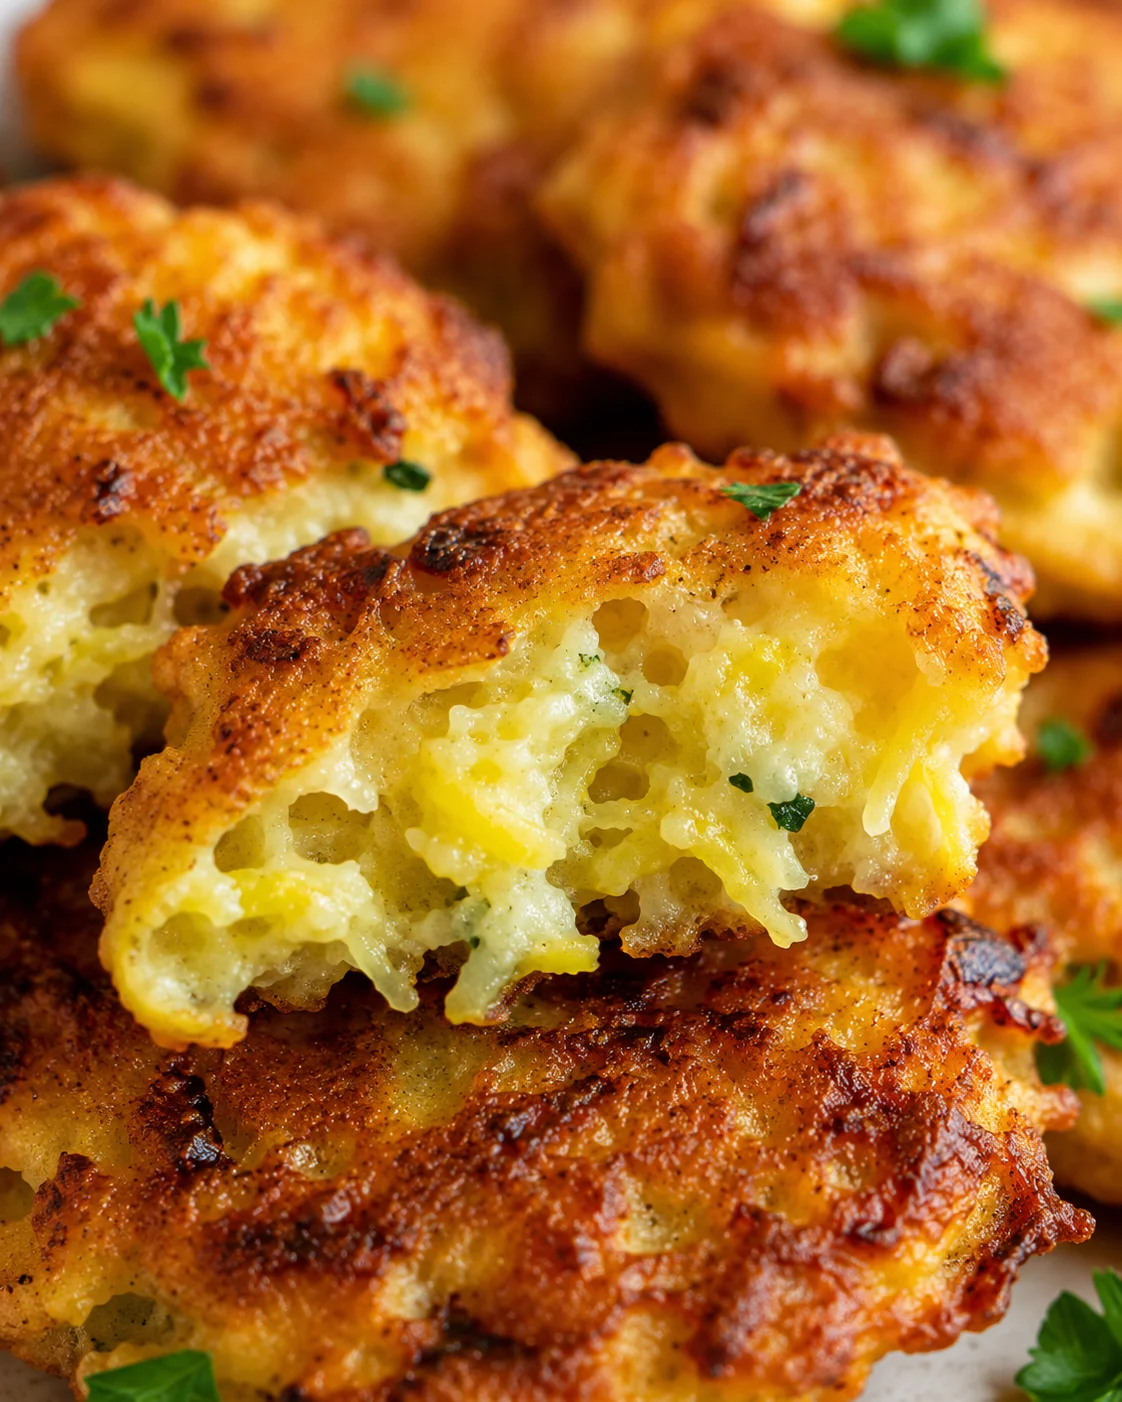
Classic Southern-style crispy squash fritters that are tender inside and golden outside. Perfect as a side dish, snack, or appetizer using simple ingredients and a quick frying method.
- Prep Time: 15 minutes
- Cook Time: 8 minutes
- Total Time: 1 hour 23 minutes
- Yield: Approximately 26 small fritters, serves 6 1x
- Category: Side Dish
- Cuisine: Southern
Ingredients
- 2 Medium/Large Yellow Summer Squash (about 4 cups grated)
- ½ cup Sweet Onion, finely diced
- 1 Large Egg
- 1 cup All Purpose Flour (plus more if needed)
- 2 Tablespoons Cornmeal (optional)
- 1 teaspoon Kosher Salt (divided)
- ¼ teaspoon Cracked Black Pepper
- 1/16 teaspoon Cayenne Pepper (a pinch)
- ⅓ cup Oil for frying (peanut oil recommended)
Instructions
- Wash squash and trim the ends.
- Grate squash using a box grater until you have about 4 cups.
- Finely dice the sweet onion.
- Toss grated squash and diced onion into a colander set over a bowl and sprinkle with ¼ teaspoon kosher salt.
- Let the squash and onion sit in the colander over the bowl for at least 1 hour to draw out moisture (optional but recommended).
- After resting, wrap the squash mixture in paper towels or a clean dish towel and squeeze out as much liquid as possible; pour off the collected liquid from the bowl.
- In a large bowl, combine the drained squash and onion with the egg, 1 cup all-purpose flour, 2 tablespoons cornmeal (optional), the remaining salt, cracked black pepper, and a pinch of cayenne pepper; stir until the batter is thick enough to hold together.
- Pour about ⅓ cup oil into a large skillet (cast iron recommended) and heat over medium-high until the oil is shimmering (about 350–375°F if using a thermometer).
- Use a small scoop or spoon to portion batter into the hot oil and press each portion down slightly to flatten.
- Fry the fritters in batches without crowding the pan, cooking about 3 to 4 minutes per side until golden brown and crispy.
- Flip fritters and cook the other side until cooked through and crisp.
- Remove fritters with a slotted spatula and transfer to a paper towel-lined plate or sheet pan to drain.
- Let fritters cool slightly on the paper towels, then serve warm.
Notes
No need to peel the squash; the skin adds color and nutrients., Draining and squeezing out moisture is key to preventing soggy fritters., Use neutral oil with high smoke point such as peanut, canola, or vegetable oil., Cast iron skillet is recommended for frying., Fritters can be made ahead, refrigerated up to 3 days, or frozen for up to 2 months., Reheat in 375°F oven or air fryer for best results; avoid microwave to keep crispiness., Variations include adding cheese, fresh herbs, chilies, corn kernels, or switching to gluten-free flour or zucchini., Each batch yields roughly 26 small fritters serving about 6 hungry people.
Nutrition
- Serving Size: About 4 fritters per serving
- Calories: 224 calories per serving
- Fat: 9 g per serving
- Carbohydrates: 28 g per serving
- Protein: 6 g per serving